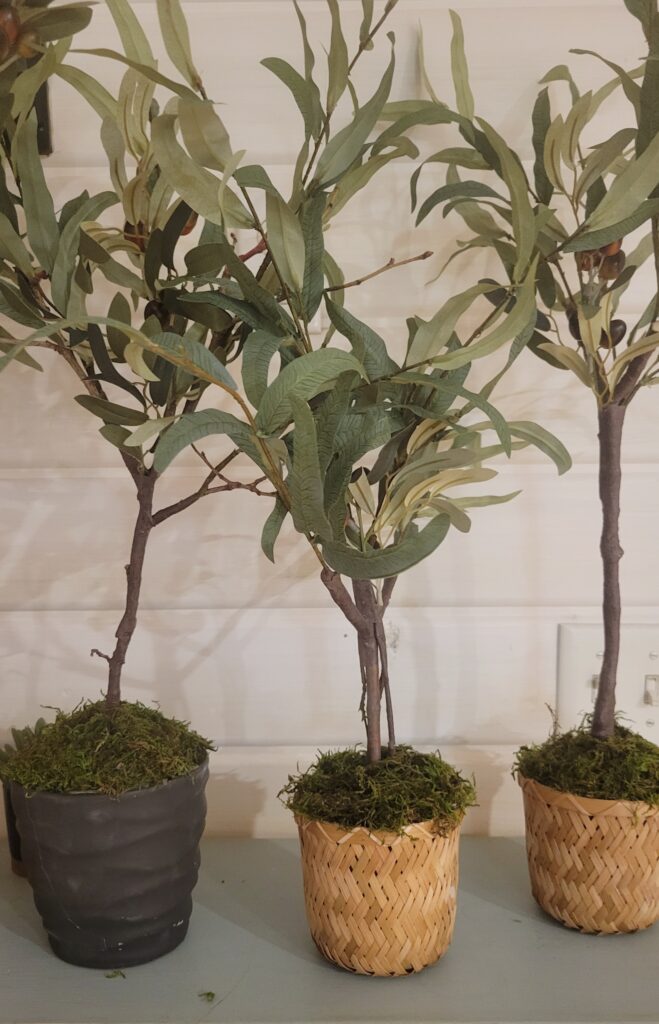
Olive trees are more than just trendy decor; they are ancient symbols of peace, friendship, and prosperity. There is a certain serenity in their silver-green leaves and twisted branches that instantly calms a room.
If you’ve been eyeing those expensive designer faux trees, I have a secret: you can create a high-end, realistic DIY tabletop olive tree using a natural branch from your own backyard. It’s a simple, magical project that brings the vibes right to your table.
*Some of the links in the post may be affiliate posts. This means I may earn a small commission if a purchase is made.
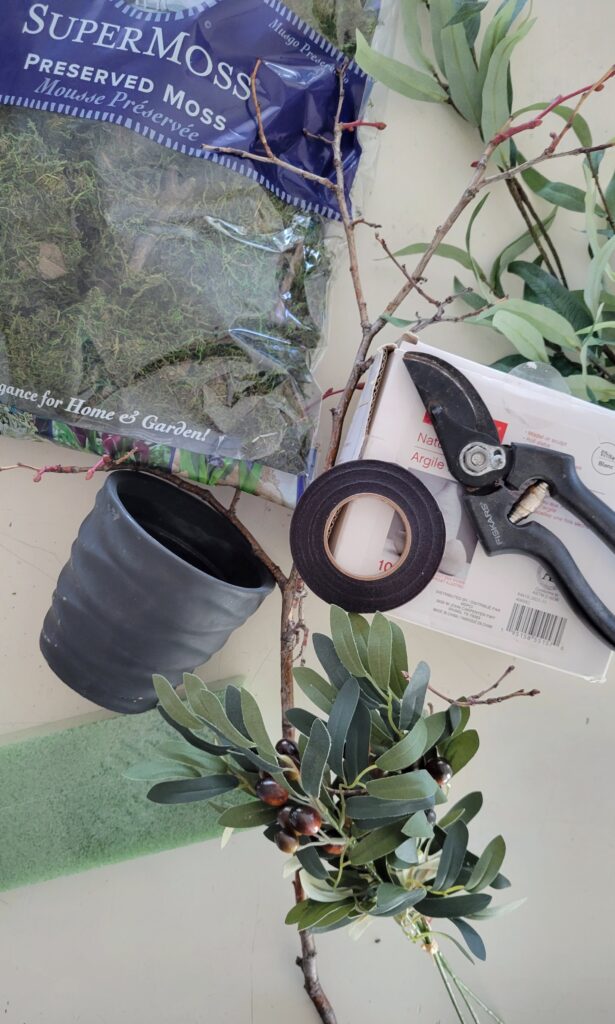
Supplies you will need for a dIY olive tree
- Small pot or crock
- Floral foam
- Hot glue gun
- Natural branch: Look for one that is straight with a few small branches on top
- Brown floral tape
- Faux olive branch stems
- Floral Snips
- Moss
- Modeling clay: For weight and stability
- Hairspray: Unscented works best
how to make an olive tree
Gather all your supplies that you will need to make the tabletop olive tree.
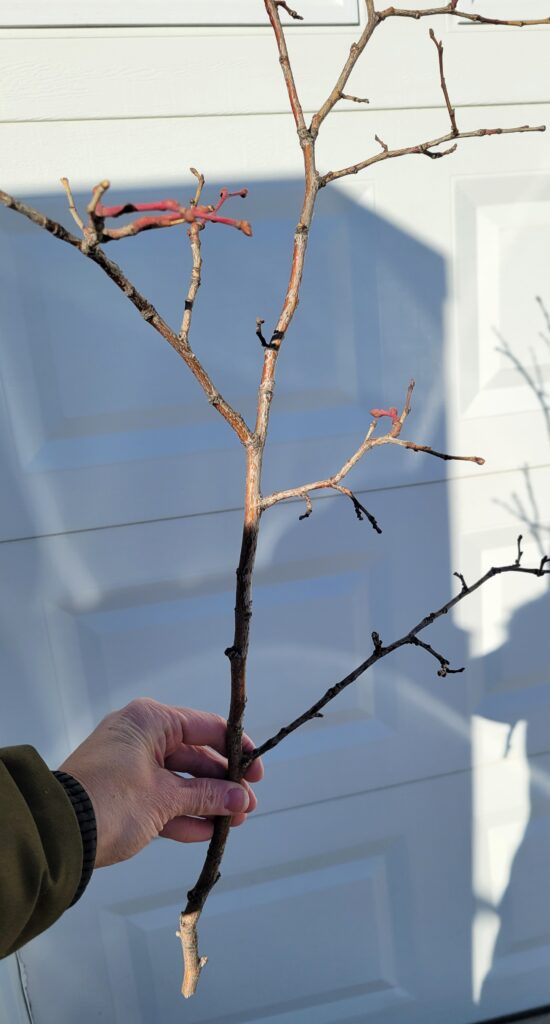
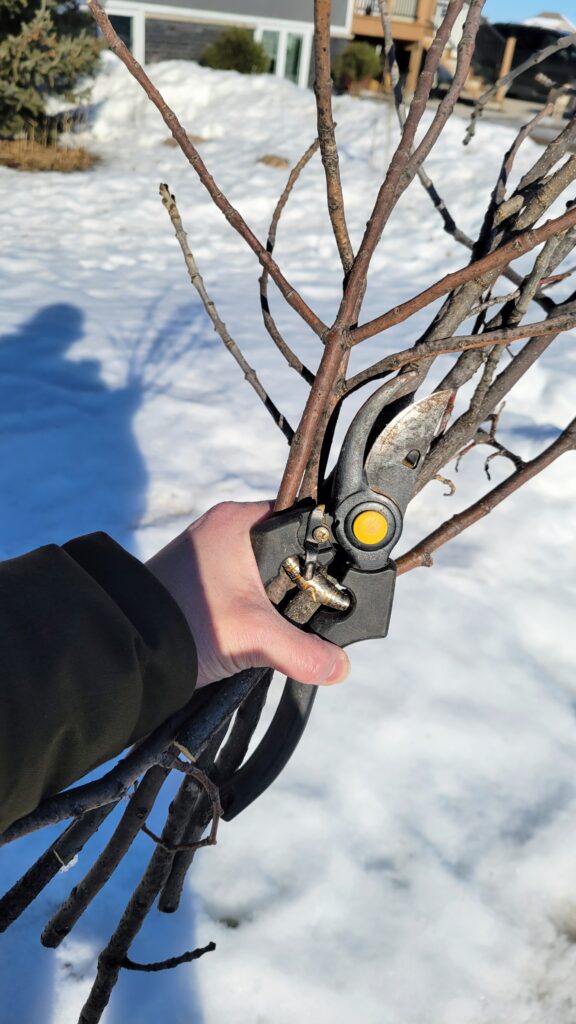
Using your floral snips, snip off a branch from a tree in your yard. Choose a branch that is fairly straight and has a few small twigs at the end of it. The small twigs will be the base of your olive stems.
1. Prep Your Foundation
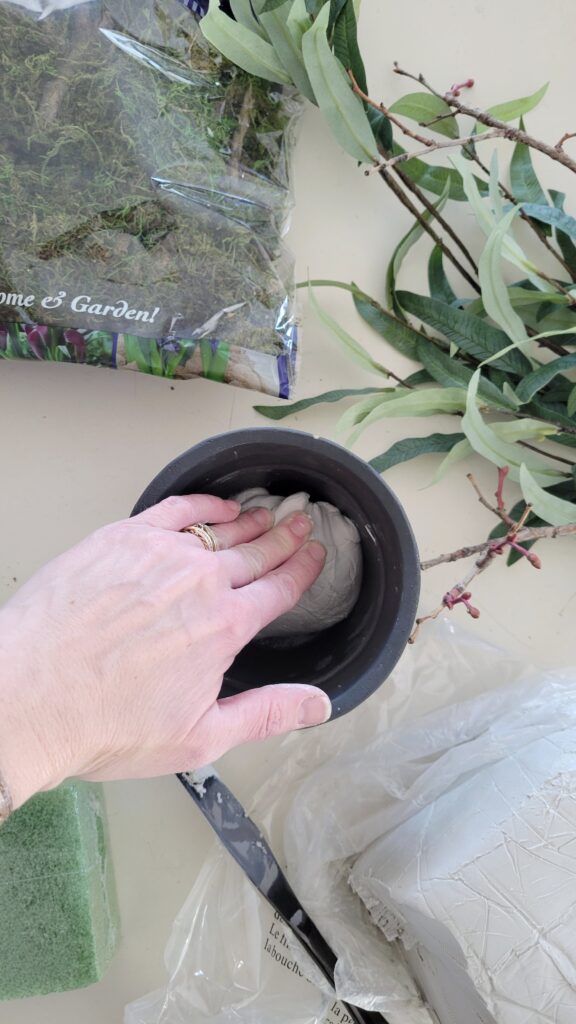
First, we need to ensure your tree doesn’t tip over. Fill the bottom half of your pot with modeling clay, pressing it down firmly. This creates a weighted base that mimics the feel of a real, heavy planter.
2. Secure the Foam
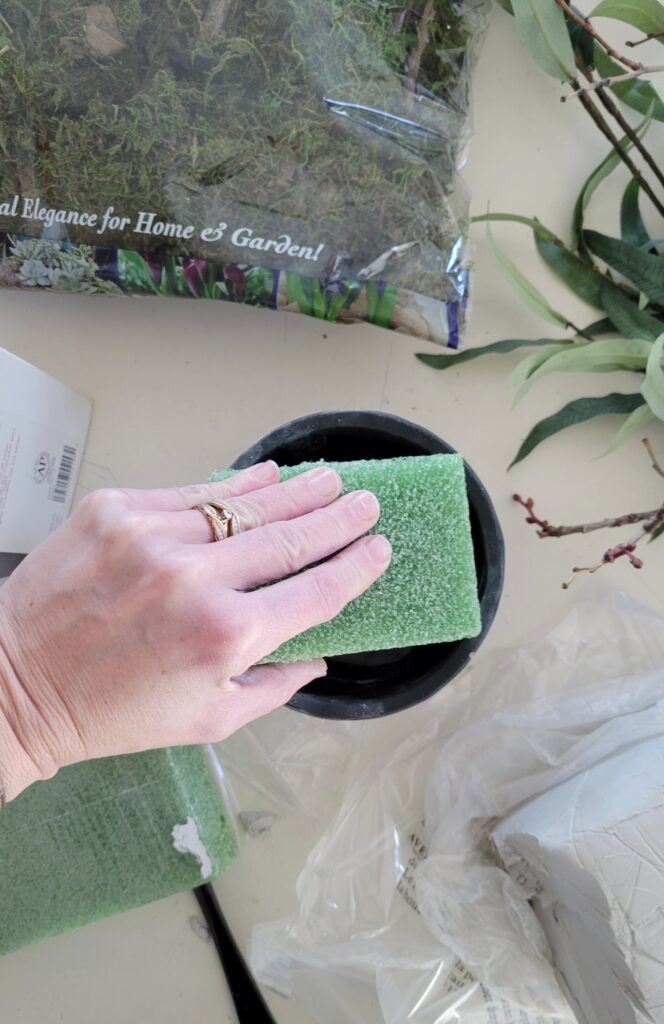
Measure the remaining opening of your pot. Cut your floral foam about 1/8 inch wider than the opening (to ensure a snug fit) and 1/4 inch shorter than the rim. Force the foam into the pot until it sits tightly against the clay.
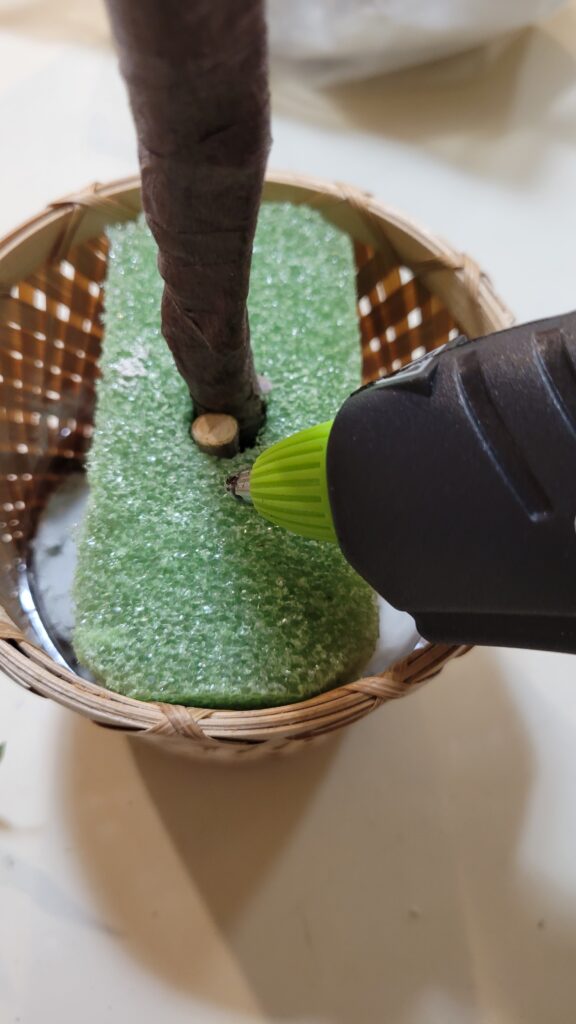
3. Set the Trunk
Take your natural branch and poke it through the center of the foam, pushing it deep into the clay base. For extra security, run a bead of hot glue around the base of the “trunk” where it meets the foam.
4. Sculpt Your Tree
Stand back and look at the skeleton of your tree. Use your snips to remove any awkward limbs, leaving only the branches where you want your olive foliage to “grow.”
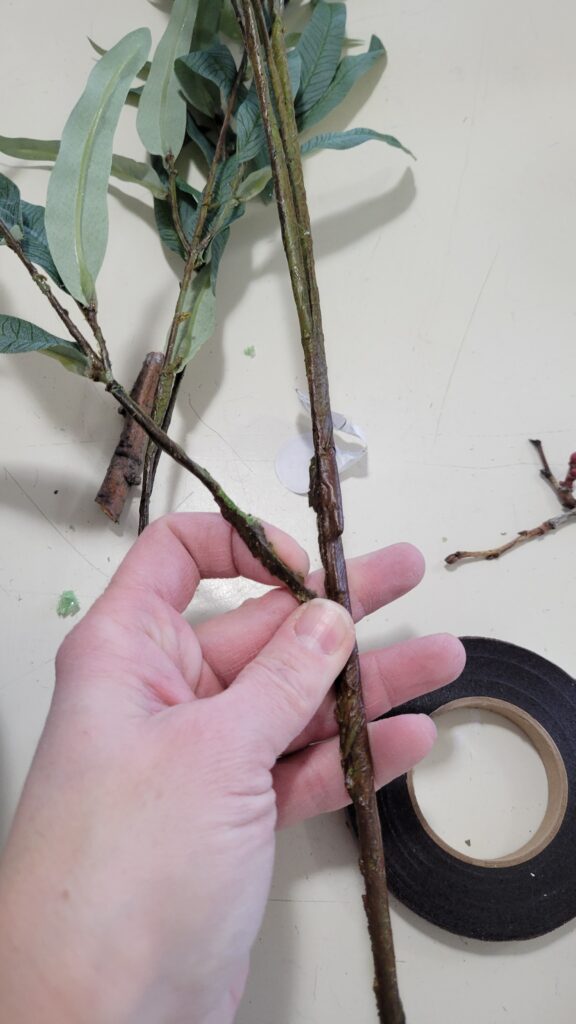
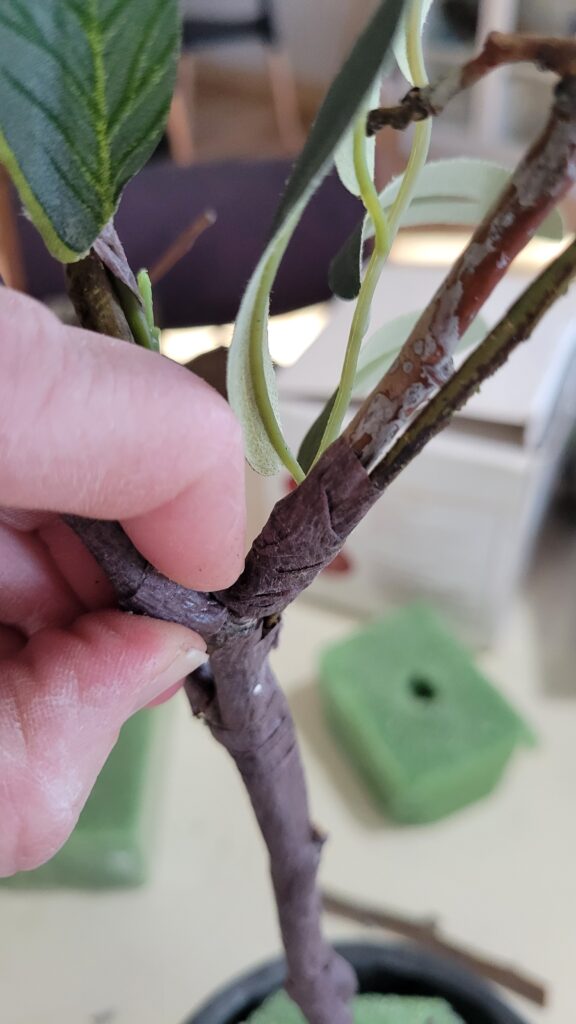
5. Graft the Olive Stems
Pull apart your faux olive bunch into individual stems, then position a faux stem against one of your natural twigs and wrap them together tightly with brown floral tape.
Pro-Tip: Once the stems are attached, wrap the entire main branch in floral tape. Press the tape firmly into the wood so the natural bumps and textures show through. This makes the transition between “real” wood and “faux” leaves look seamless and realistic.
Continue doing this until you have added an olive branch to all the bare limbs at the top of your branch.
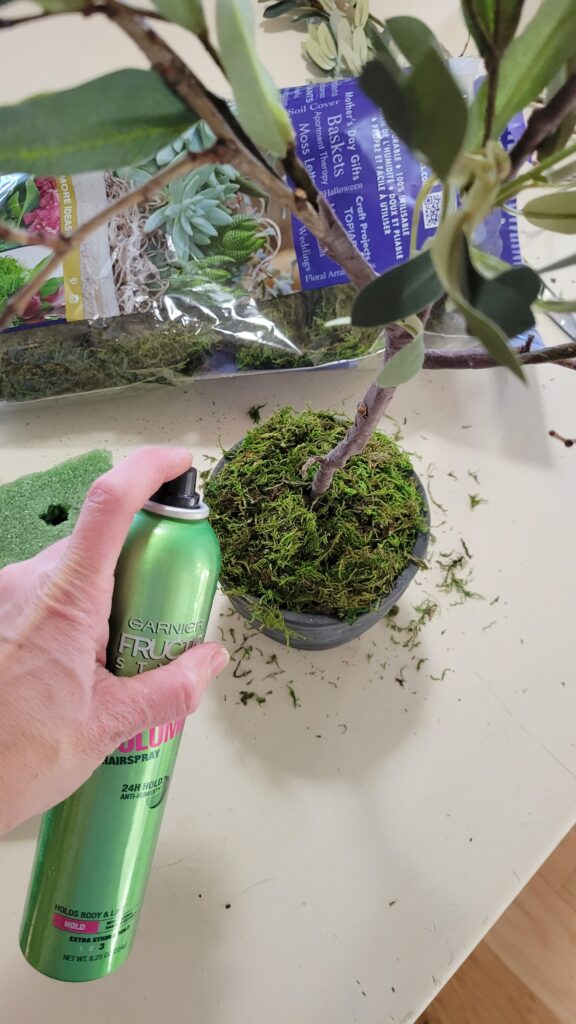
6. Add the Finishing Touches
Apply hot glue to the top of the floral foam and press preserved moss into the glue until the foam is completely hidden. For a “weathered” look, you can even glue tiny bits of moss to the branch itself. Give the moss a quick spritz of hairspray to keep it from shedding.
diy flower projects
Inspiration for Your Home
Your imagination is the only limit so if you loved this project, check out these other ways to spruce up your home decor
This DIY dried flower wreath is so fun to make.
Here is a tutorial on how to use dried flowers.
As always, enjoy and use your imagination. Let your ideas take you where you want to go.