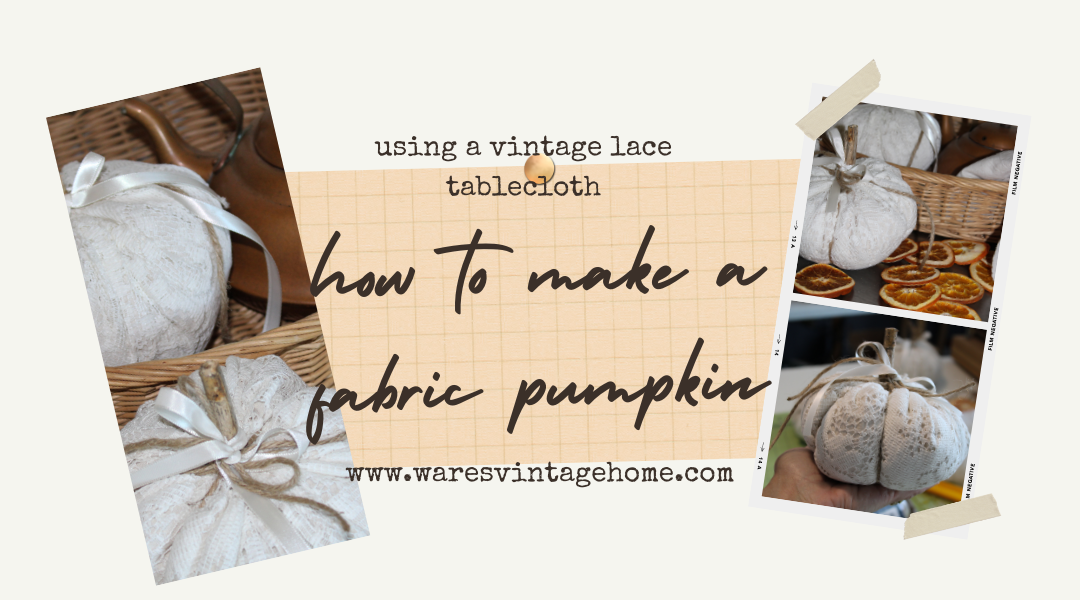
As the leaves turn color and the air grows cooler, there’s no better way to welcome the fall season than by adding a touch of handmade charm to your home decor. Fabric pumpkins made using a vintage lace tablecloth will for sure add that perfect bit of vintage charm to your holiday decor. Enjoy this step by step easy DIY fabric pumpkin tutorial with a cup of coffee and a friend.
Some links may be affiliate links and I could earn a small commission if you purchase through it.
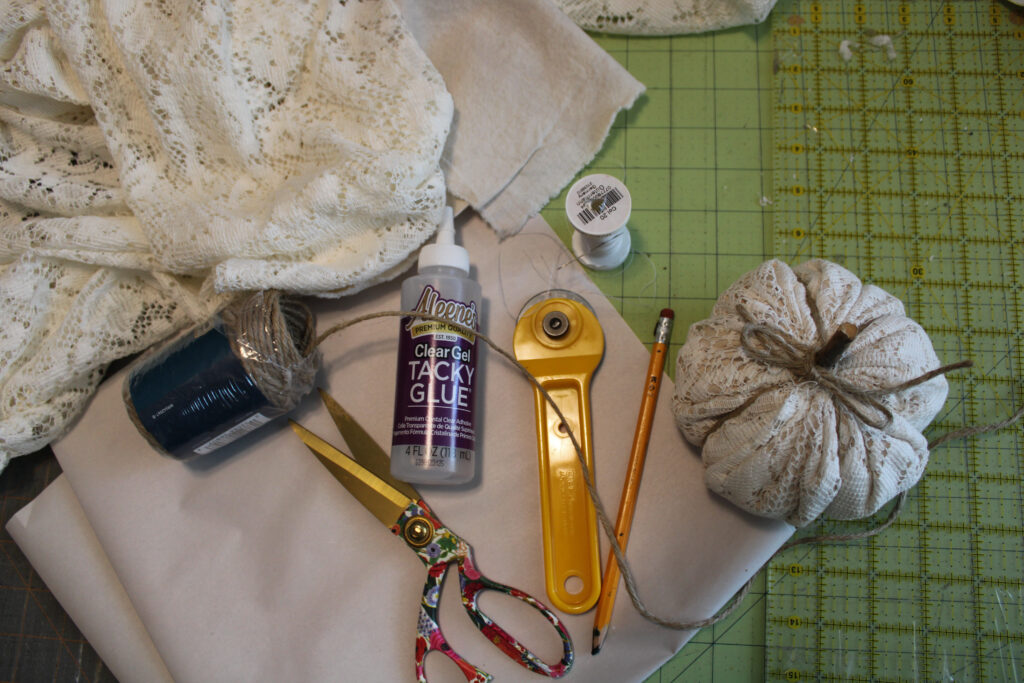
Materials you need for making a fabric pumpkin
- plain cotton fabric
- vintage lace tablecloth
- scissors
- needle and thread
- paper for making your pattern
- pencil
- twine
- tacky glue or hot glue gun ( my favorite tacky glue and hot glue gun)
- 4″ piece of a twig
- ribbon
- polyester filling
How to make a fabric pumpkin
Step 1: Tie a piece of twine onto the bottom of your pencil or pen then make an X in the center of your paper. Decide what diameter you want your pumpkin and divide that number in half. Measure that distance on the twine from the pencil then place that on the x and draw a round circle. Another way to make the circle, is to trace a round object.
Step 2: Cut out your circle.
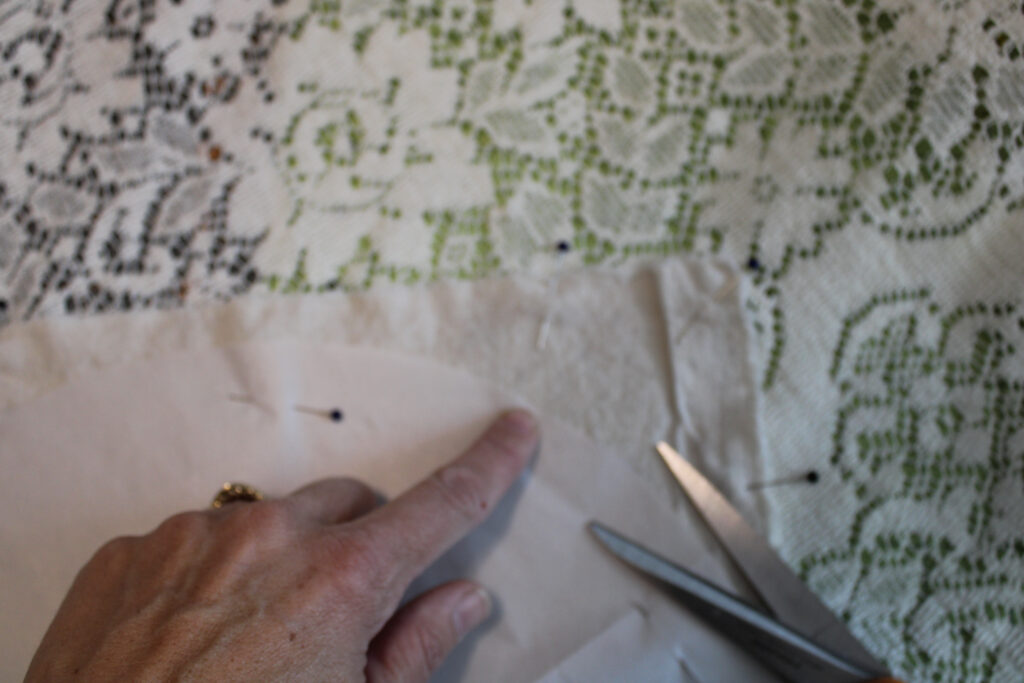
Step: 3 Place your lace table cloth over the solid cotton fabric, place your circle pattern on top and using stick pins, pin around the edges of the pattern. Cut out the pattern using scissors or a rotary cutter.
Step 4: Using a needle and thread or a sewing machine, sew a running stitch around the edge of the fabric circle. Leave a long tail of thread at the beginning and the end.
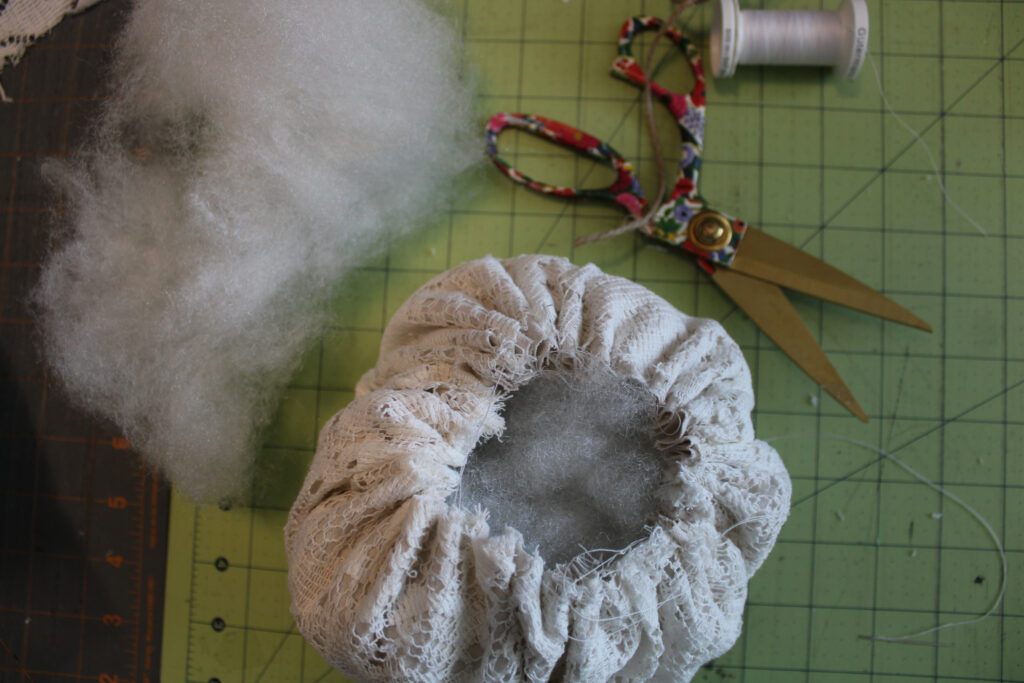
Step 5: Gently pull the thread to gather the fabric, forming a pouch. Do not tie off the thread just yet.
Step 6: Fill the fabric pouch with polyester stuffing until it reaches your desired level of fullness. The more you stuff, the plumper your pumpkin will be.

Step 7: Once your pumpkin is stuffed, pull the thread tight to close the opening. Tie a knot to secure it. You may need to make a few stitches across the opening to ensure it stays closed.
Finishing the fabric pumpkin
Step 8: To wrap up, poke the stem through the hole and gently push down. Glue around the edge of the stem using tacky glue or a hot glue gun, to finish off the pumpkin tie a ribbon around the stem and secure with a dot of glue.
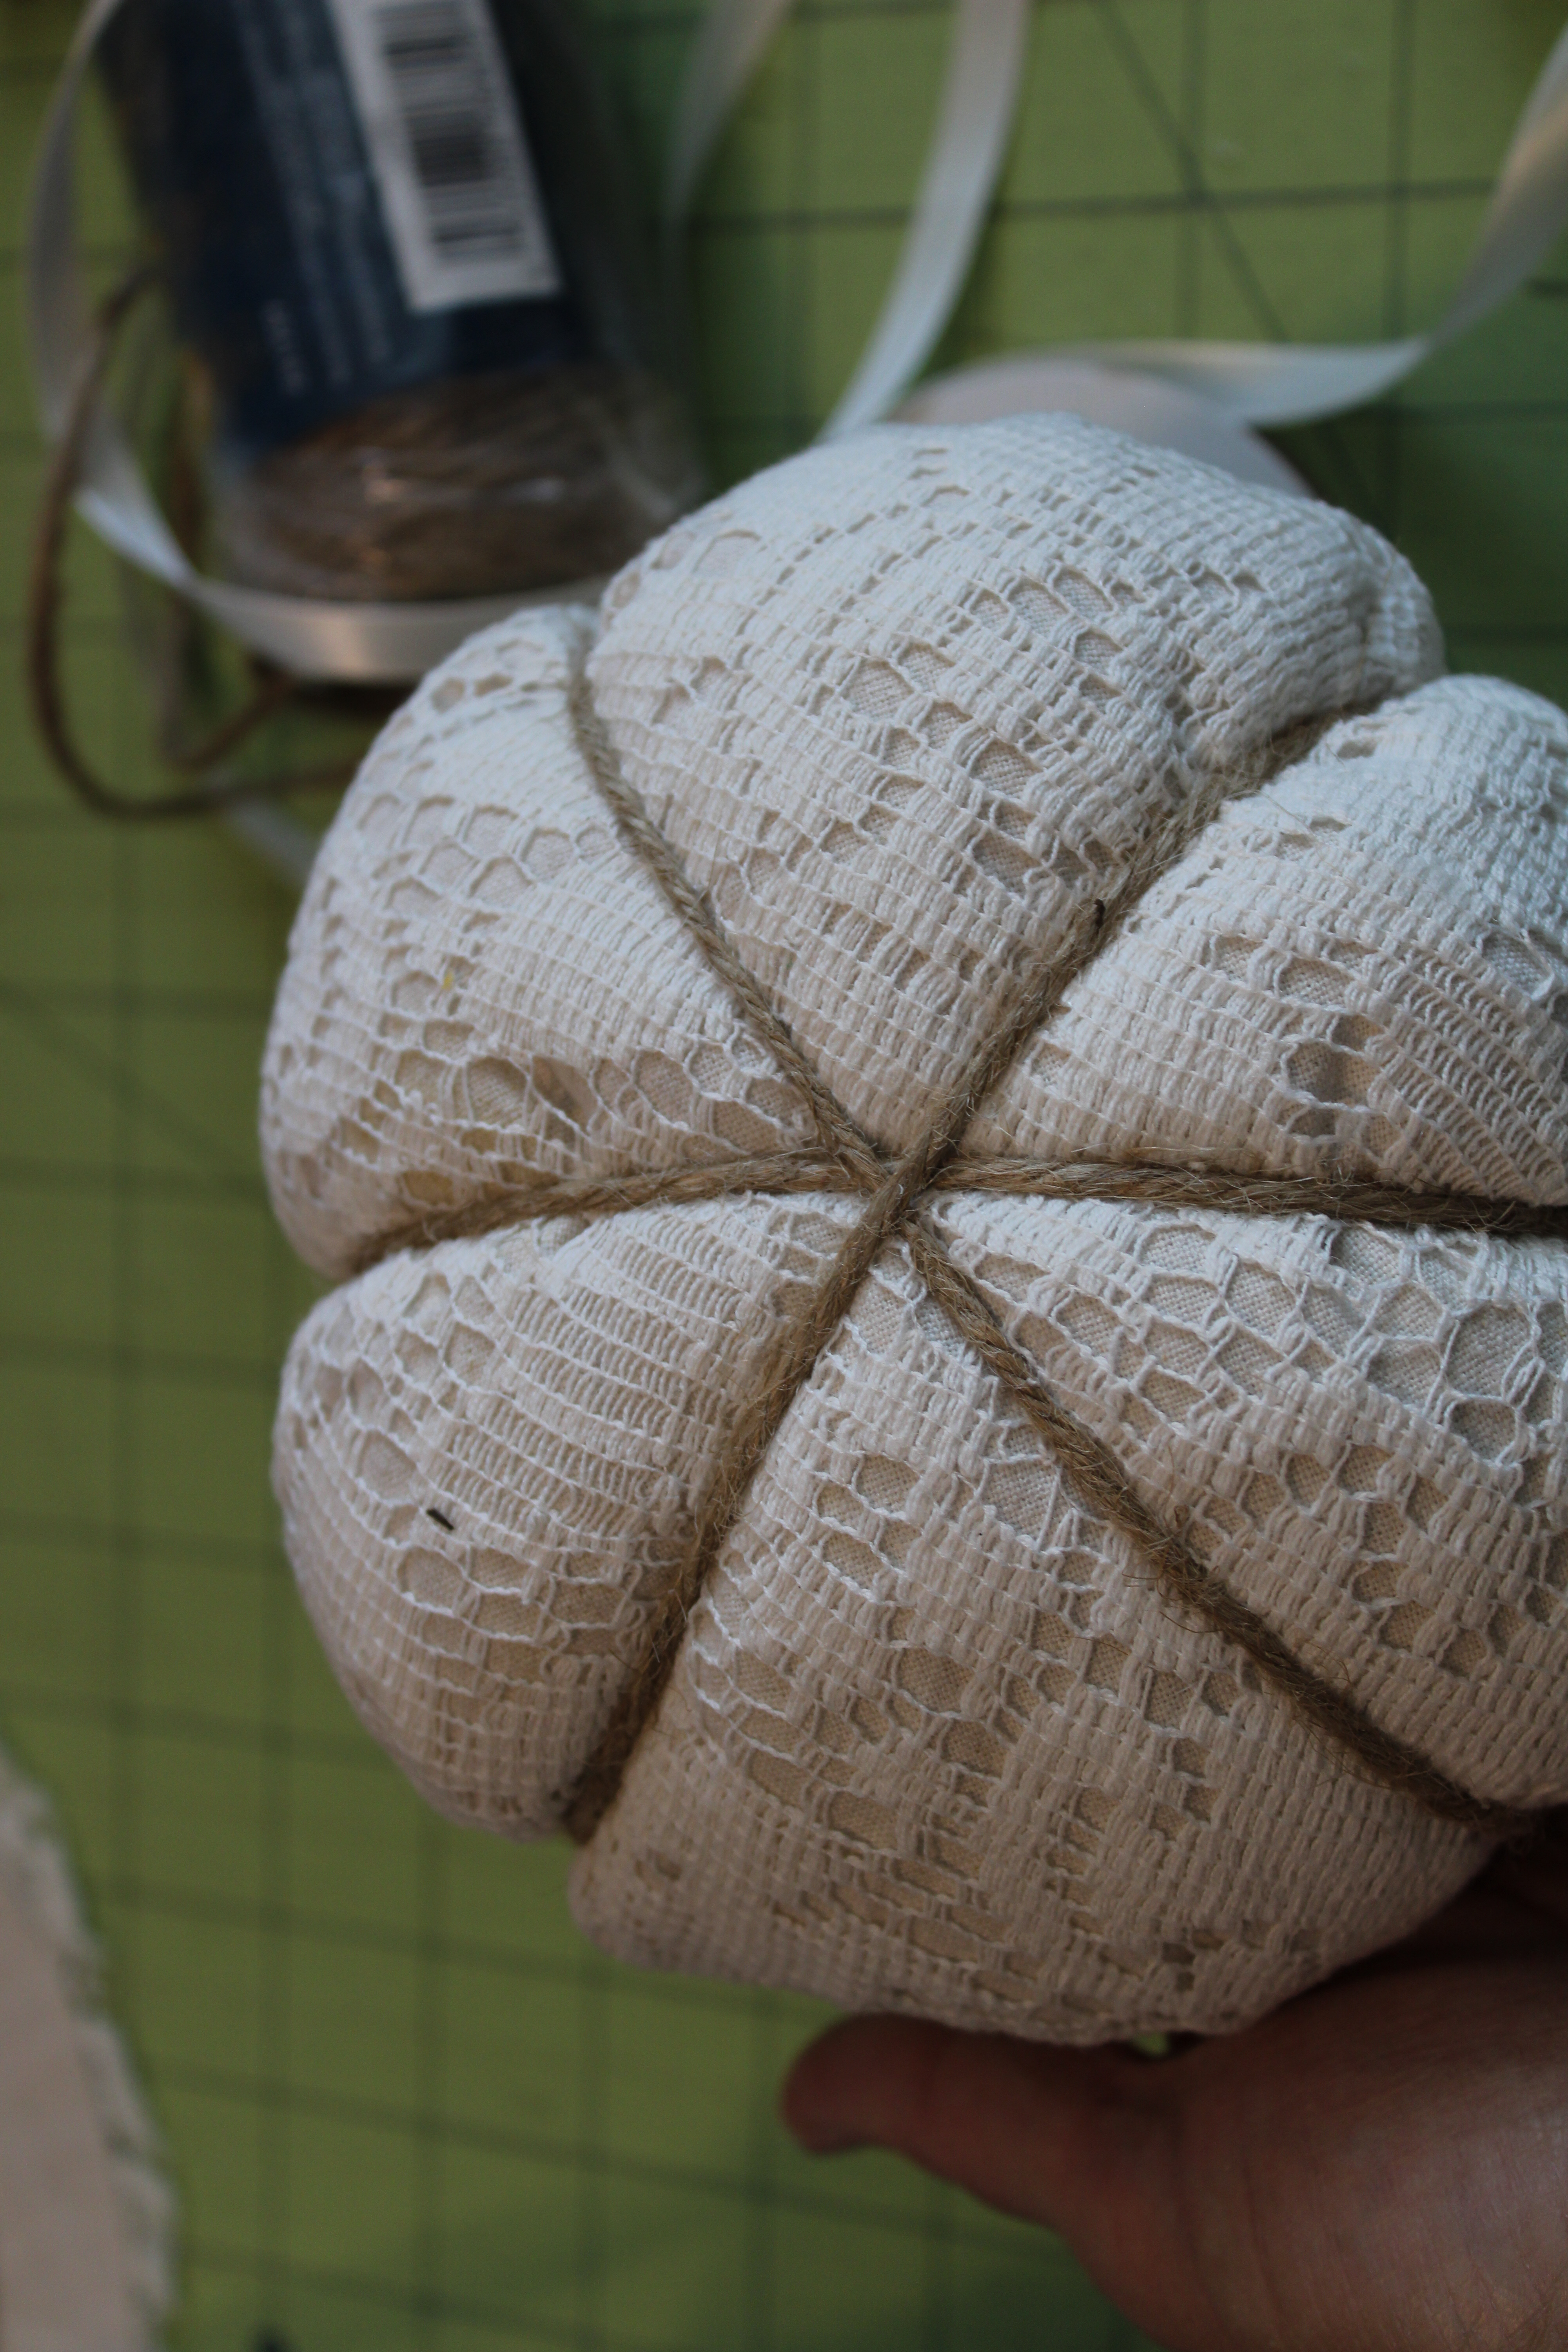
Step 9: This step is optional. If you want your pumpkin to have the look of ridges. Cut a long piece of jute or twine and wrap it around the pumpkin making the ridges. Tie the end tight and place a dot of glue on the knot.
Certainly, crafting fabric pumpkins is a delightful way to celebrate the fall season and add a handmade touch to your home decor. Therefore with just a few simple materials and a bit of creativity, you can create beautiful pumpkins that you’ll enjoy year after year. So gather your supplies, put on some cozy music, and get crafting!
Easy DIY craft projects
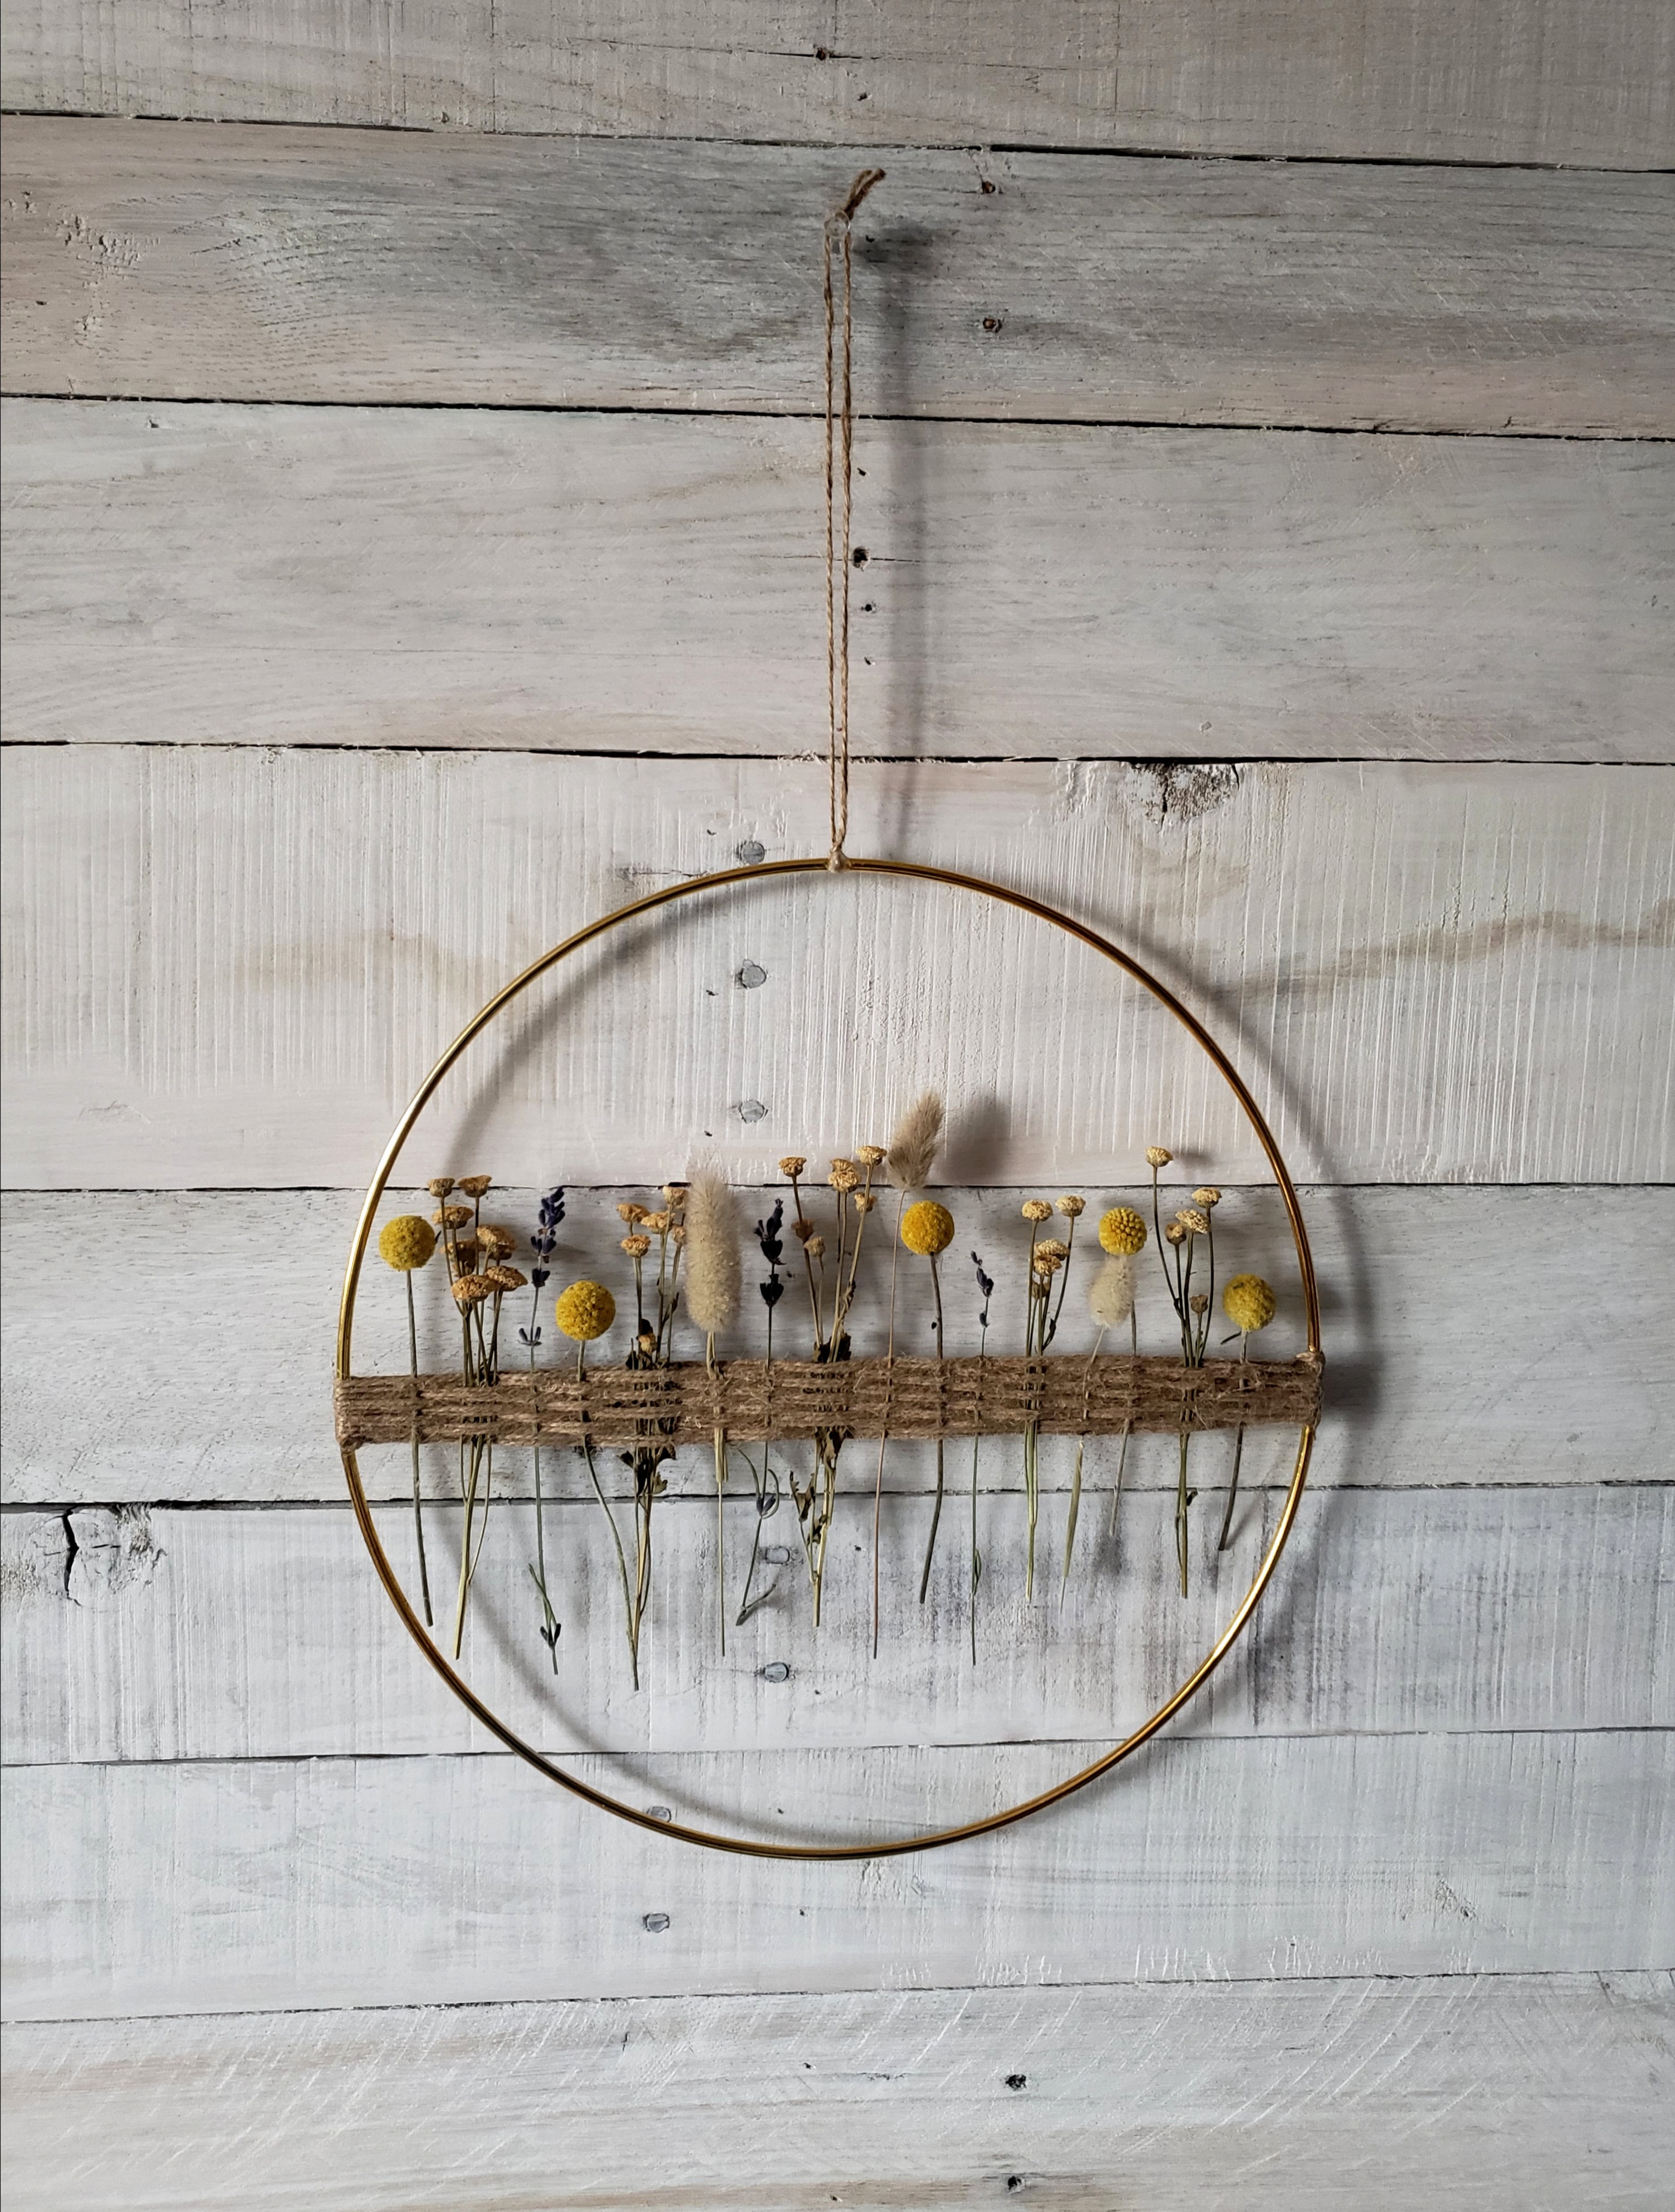
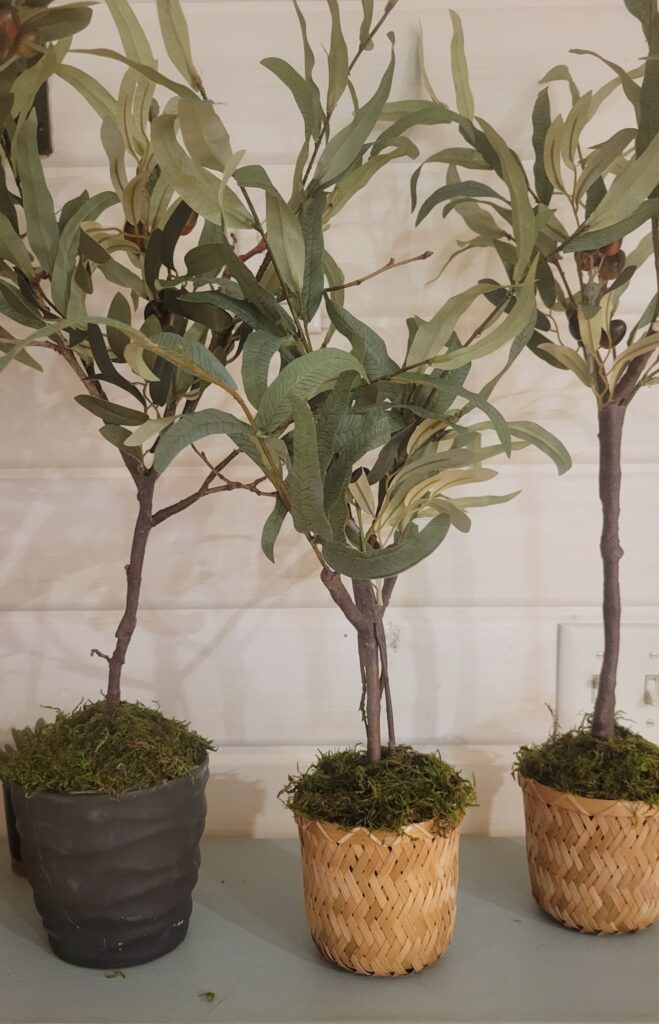
In addition to making fabric pumpkins here are a few more easy DIY craft projects for you to explore.
Happy crafting!
