how to start seeds indoors
How to start seeds indoors? Starting seeds indoors is one of the first signs of spring. There are a few basic steps to be successful at starting your seeds indoors. Here at Midwest Cut Flowers we are deep into seed starting. With just a few basic supplies you can be successful at starting your own seeds indoors.
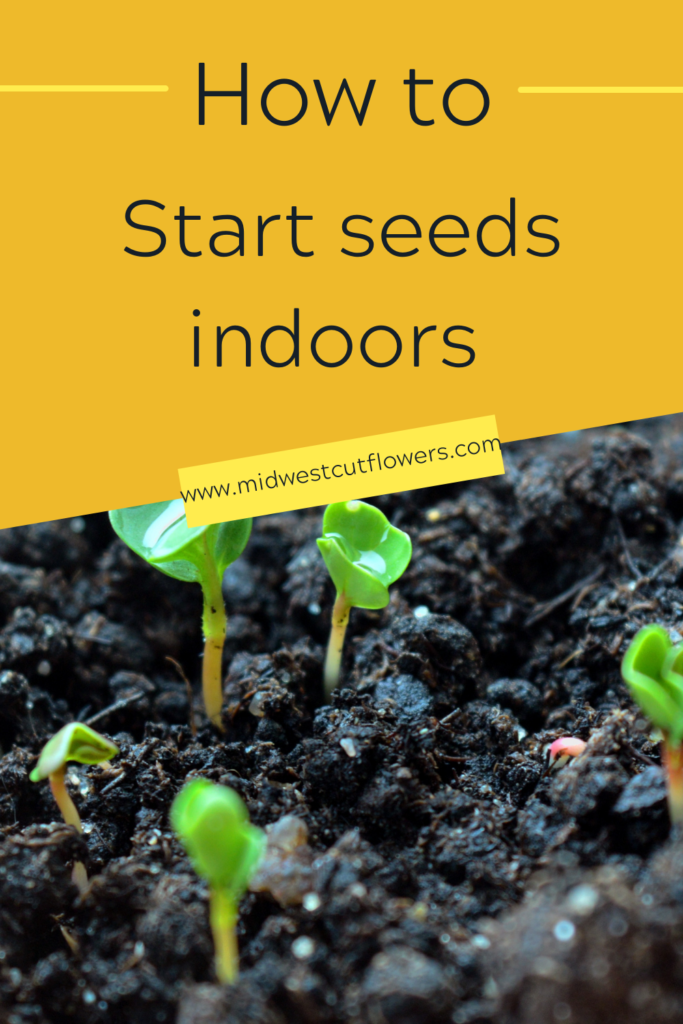
We are busy starting seeds and going over lists of supplies that still need to be bought. The busy season is upon us! In no time at all it will be planting time, followed closely by harvest time! I am looking forward to seeing what you have grown. Please remember to email me or leave a comment below and let me know how your seed starting went for you.
* Some of the links in this post may be affiliate links. This means that I would earn a small commission from things purchased.

Supplies you need for starting seeds
- seed starting mix
- flower seeds
- seed cell trays
- large bucket or basin
- something to scoop up the soil
- worm castings ( optional, I always add a handful to each bucket)
- pencil
- mixing tool ( I use an old wooden spoon)
- vermiculite
- heat mat ( optional)
Seed Starting 101
Here is a quick run down on how we start seed here at Midwest Cut Flowers
- We use a seed starting mix to start all of our seeds.
- In a large container pour in the seed starting medium of your choice. Add 1 handful of worm castings and mix well.
- Moisten the seed starting mix. You want the medium damp, not soaking wet.
- Make sure your seed trays or cell packs are disinfected and clean. We wash all of our cells and pots with a bleach water solution. 1/4 household bleach to 1 gallon hot water.
- Add the soil mixture to your seed trays. Tamp down lightly on each cell.
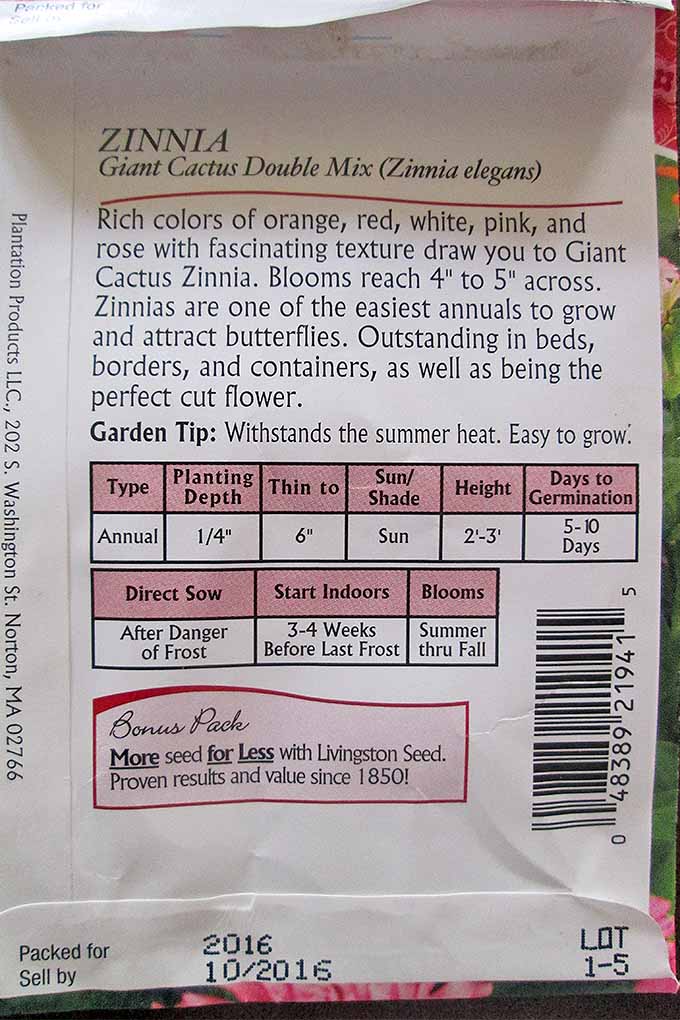
- Plant the seeds according to the package instructions. Johnny’s seeds packets have great instructions on the back of the package.
- Put on the clear plastic top, this acts like a little greenhouse.
- Put your newly planted seeds under your grow lights or in a bright window.
Here is post I did about what not to do when starting seeds. I definitely had some trial and error.
Here is another post on starting seeds.
Starting Seeds
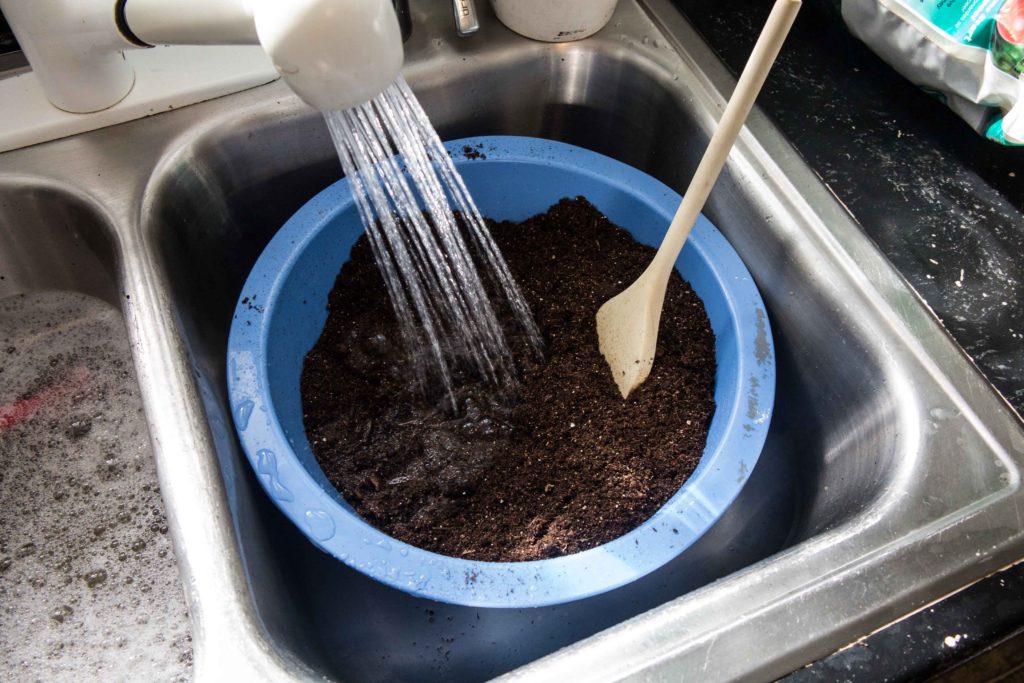
Moisten the seed starting mix. This was my favorite seed starting mix when I was just growing a small amount of flowers. Now I use this Pro mix bx. The mixture should be damp and slightly hold its form when you squeeze a handful. Not soaking wet. Add a small amount of water at a time then mix and test the soil with your hand.
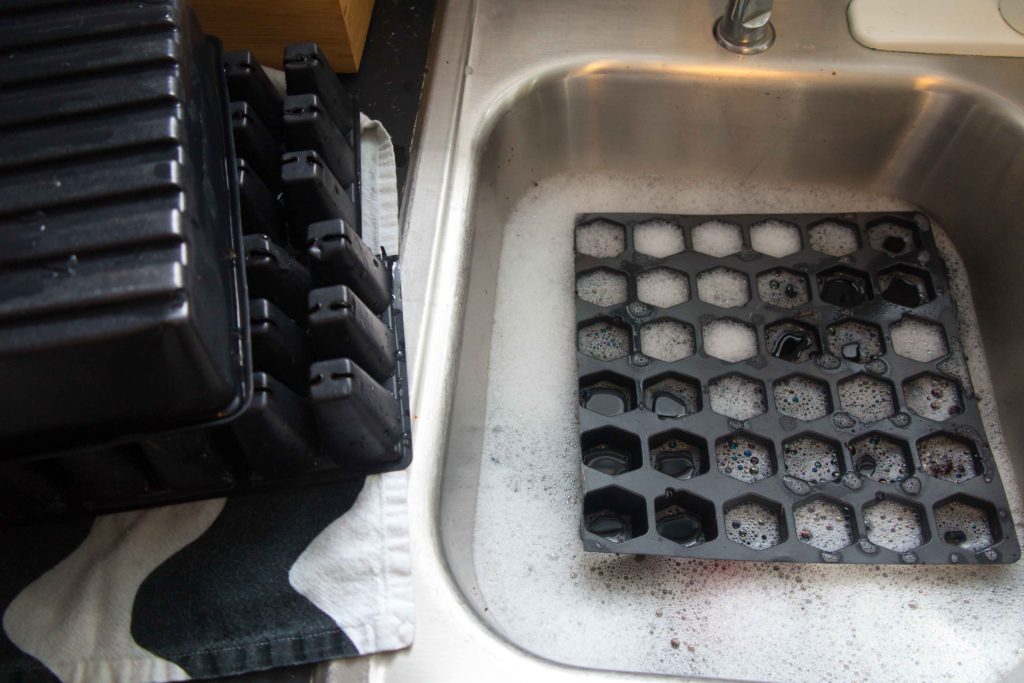
Washing trays and cells packs in hot water with 1/4 cup of bleach and some dawn dish soap. I let them soak for a few minutes then wash and rinse. Washing the trays gets rid of any bacteria that may be there from the previous use.
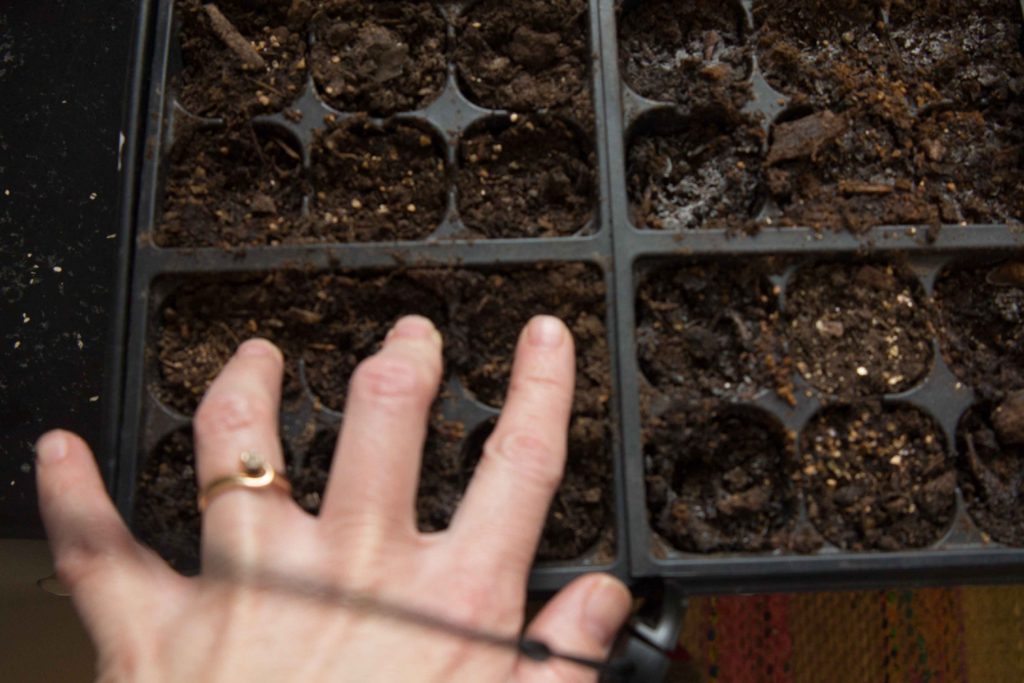
Put the soil into the trays and then press down moderately to slightly pack the soil in. Then add more soil to fill up the cells.
Seed packet information
It is very important to read the back of the seed packet, to see how to plant the seed. Some need light to germinate, some need to be planted at 1/4 of an inch etc. This information will be on the back of the seed packet. Most packets will tell you how deep to plant, how to space, how much sun the plant will need etc.
I mostly use the 72 cell trays with the plastic domes. After the seed is planted, put on the plastic dome and move to a sunny window. If you have a heat mat you can put the trays on that unless the package tells you not to. Some varieties do not like heat. Keep an eye on the germination and as soon as you see some of the seed germinating, remove the plastic cover and move the tray under grow lights. If you do not have lights that is fine. A south facing window is great. Make sure your rotate the tray daily.
If you are using grow lights, it is important to have the lights really close to your tray. I start out with the lights about 1 inch up from the trays and as your plants grow just move the light up. If your light source is to far from the seedlings, they will stretch trying to get enough light. You want your seedlings to be strong, not spindly.
If you find that your seedlings are not getting enough sunlight through the window, this video shows you a little hack that actually works great! All you need are a few basic items.
How to water seedlings
Watering your seedlings in so important. I like to bottom water them, so by this I literally mean watering from the bottom. I pour water into the bottom of the outside tray and it gets sucked up through the holes on the seed cells. If you have extra water in the bottom of the tray after an hour. Dump it out. You do not want your soil in the cells to be soaking wet, moderately damp is ideal. I water every other day. I find that this helps with fungus gnats. Here is a good article on fungus gnats.
What else…
This is my sixth year growing cut flowers from seeds and I am getting better at ” how to start seeds indoors” although I am still learning what to do and what not to do. I am growing approximately 3 times as many as last year. Yikes, with this amount of seeds it requires a lot of planning and space. I am running out of space already and I still have 20 more trays to plant. “Sorry family” I am about to take over some more living space.
A small greenhouse is in the works, hopefully it can come together this summer and fall……..I have been saving old windows and hope to hire someone handy to frame them all together.
I took the Online flower farming school class put on by Lisa Mason Ziegler and found that it was awesome! I am planning on putting what I learned to use this year. Lisa has also written a few books that I am planning on buying. Here they are.
If you have any questions on how to start your seeds indoors…ask me in the comments below.
Don’t forget to subscribe to our blog, we will send you are the newest blog updates so you know what is going on around here.


Trackbacks/Pingbacks