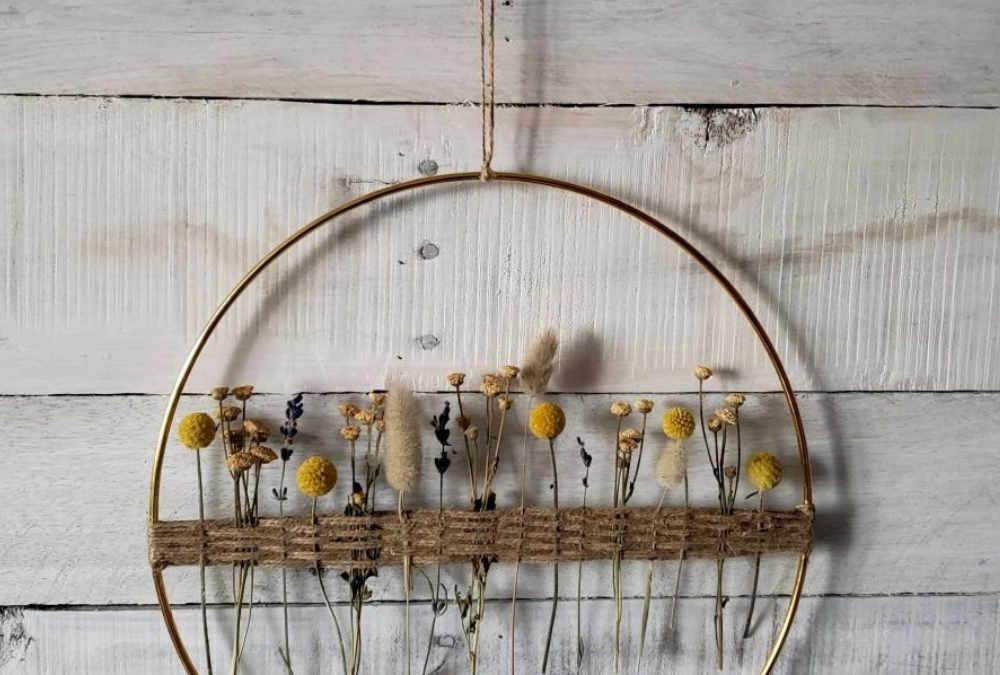
This dried flower wreath DIY is just the tip of the ice burg. Once you start making wreaths, the ideas just keep coming and coming. Like all of my other DIY tutorials, this is just for an idea. Take your creation to the next level, I would love it if you shared a picture of what your wreath looks like.

*Some of the links in this post are affiliate links. This means I may earn a small commission if an item is purchased.*
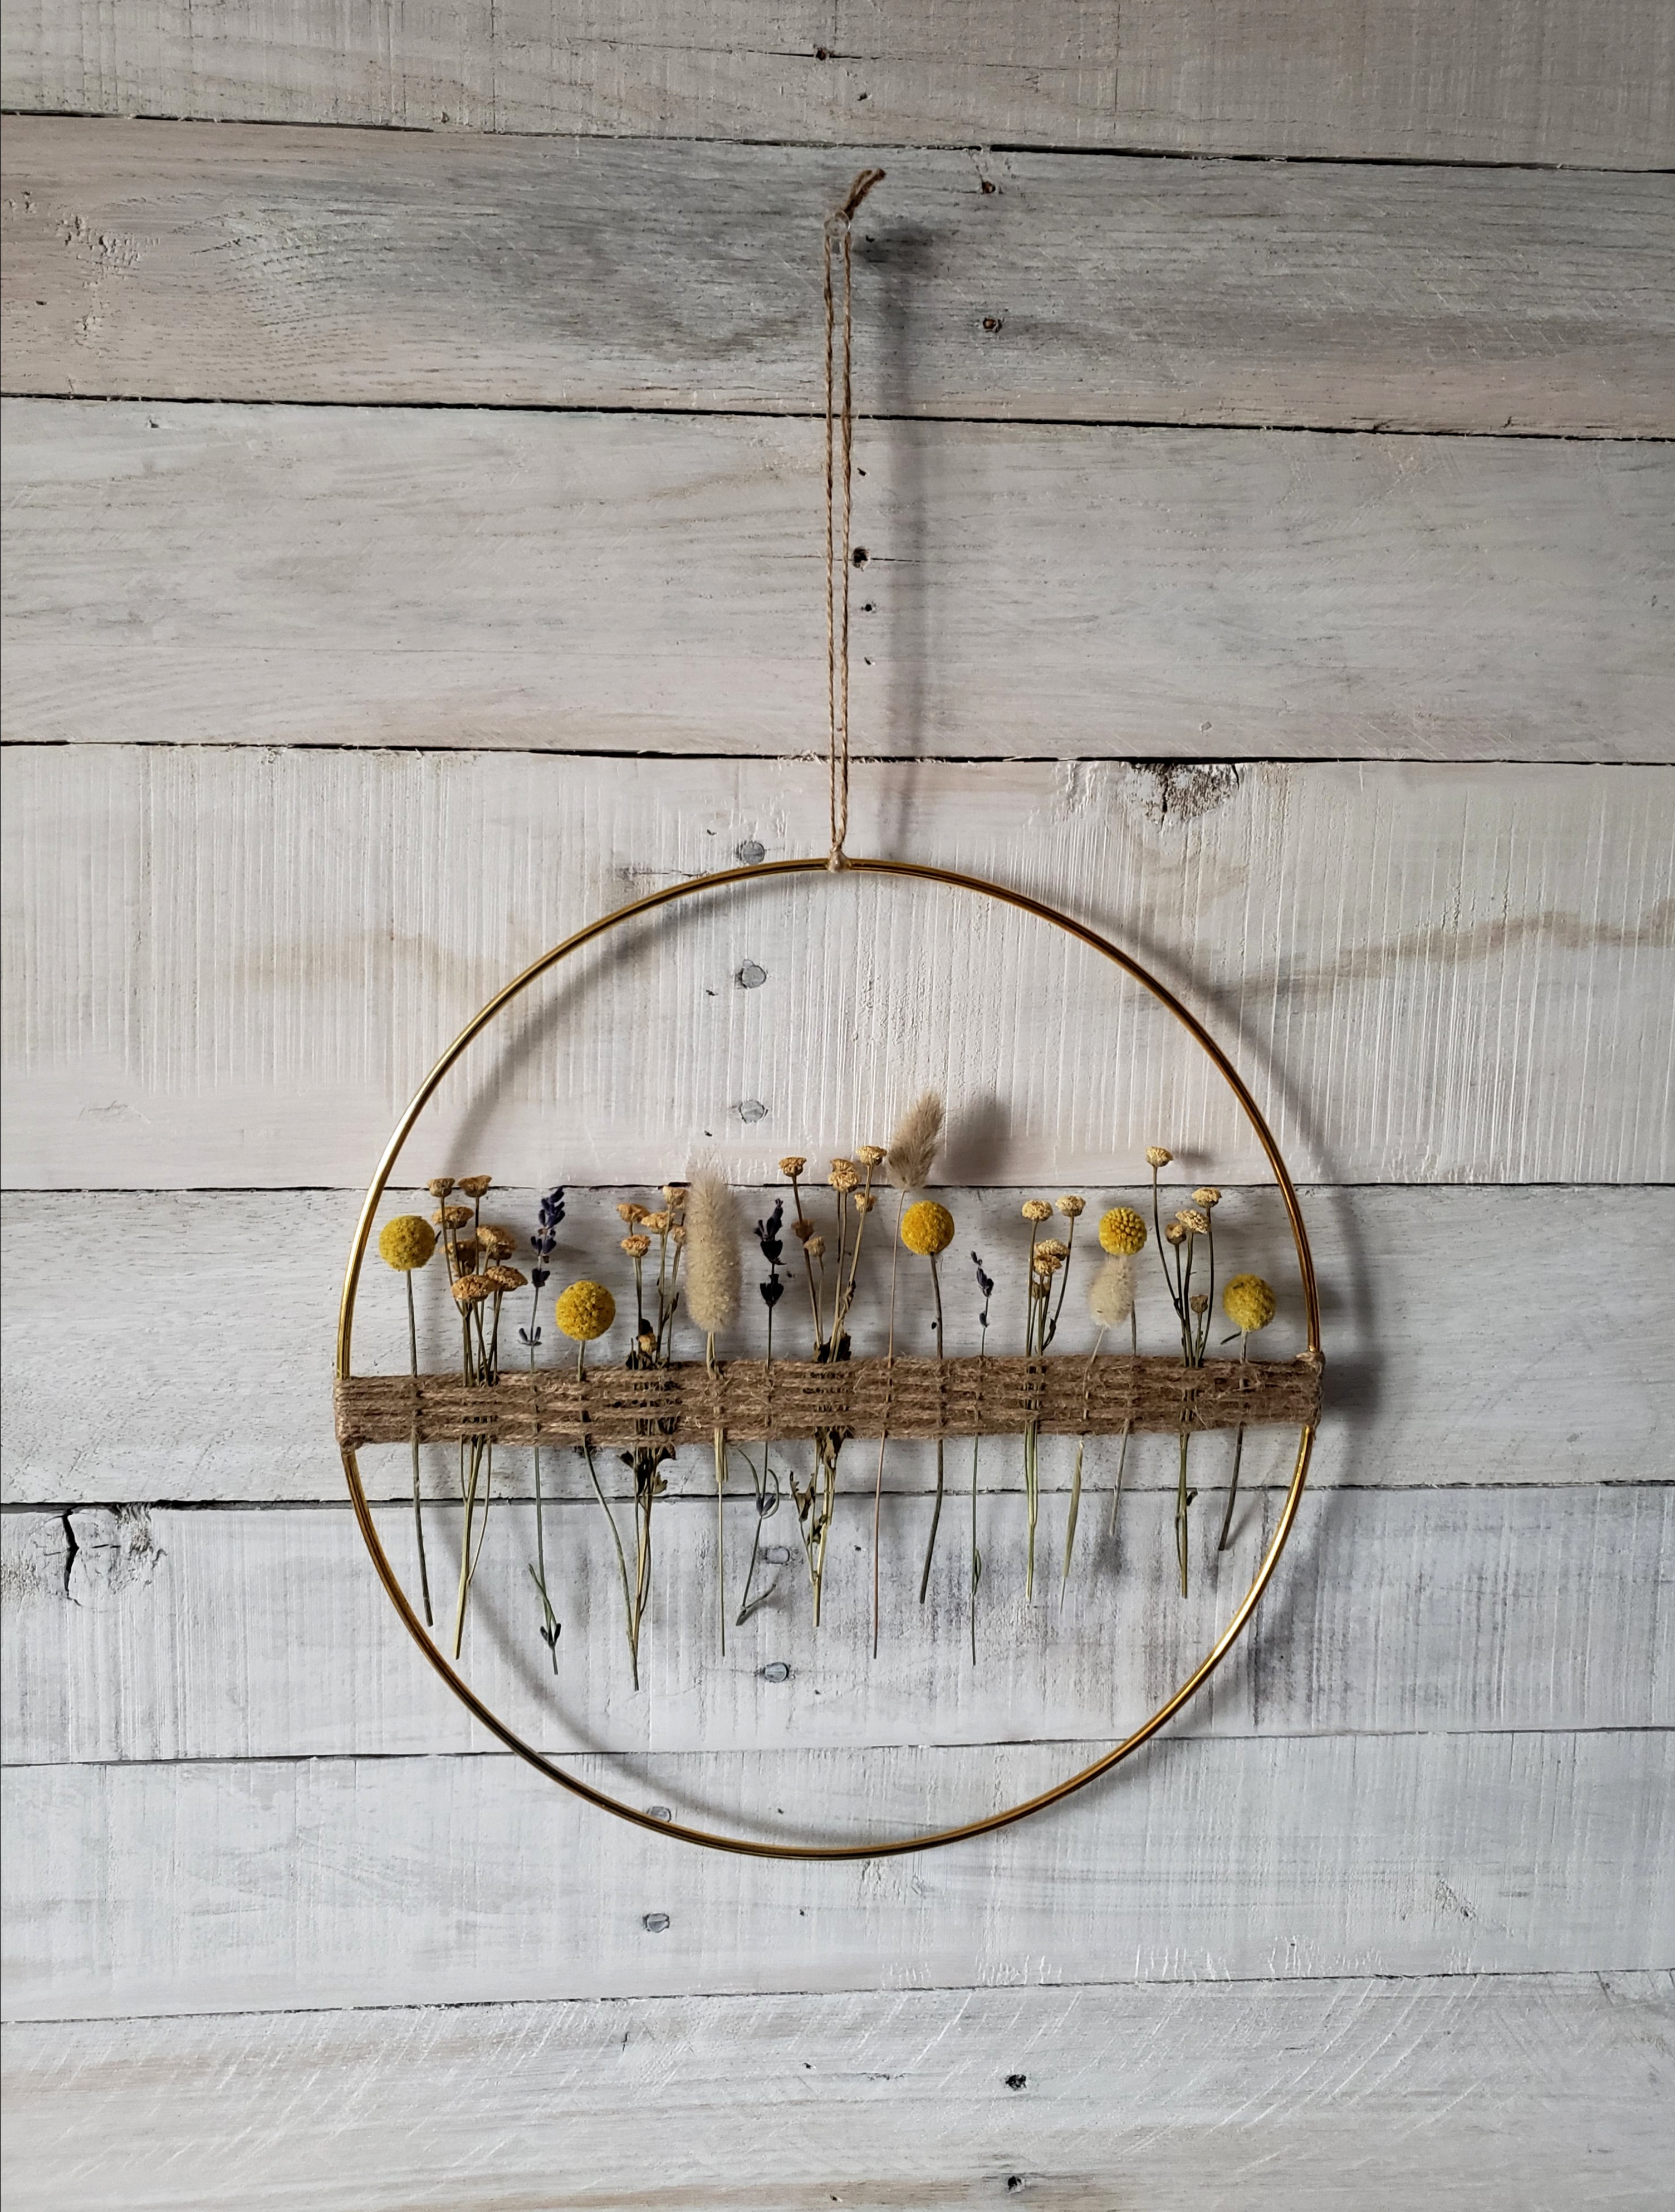
Supplies for diy dried flower wreath
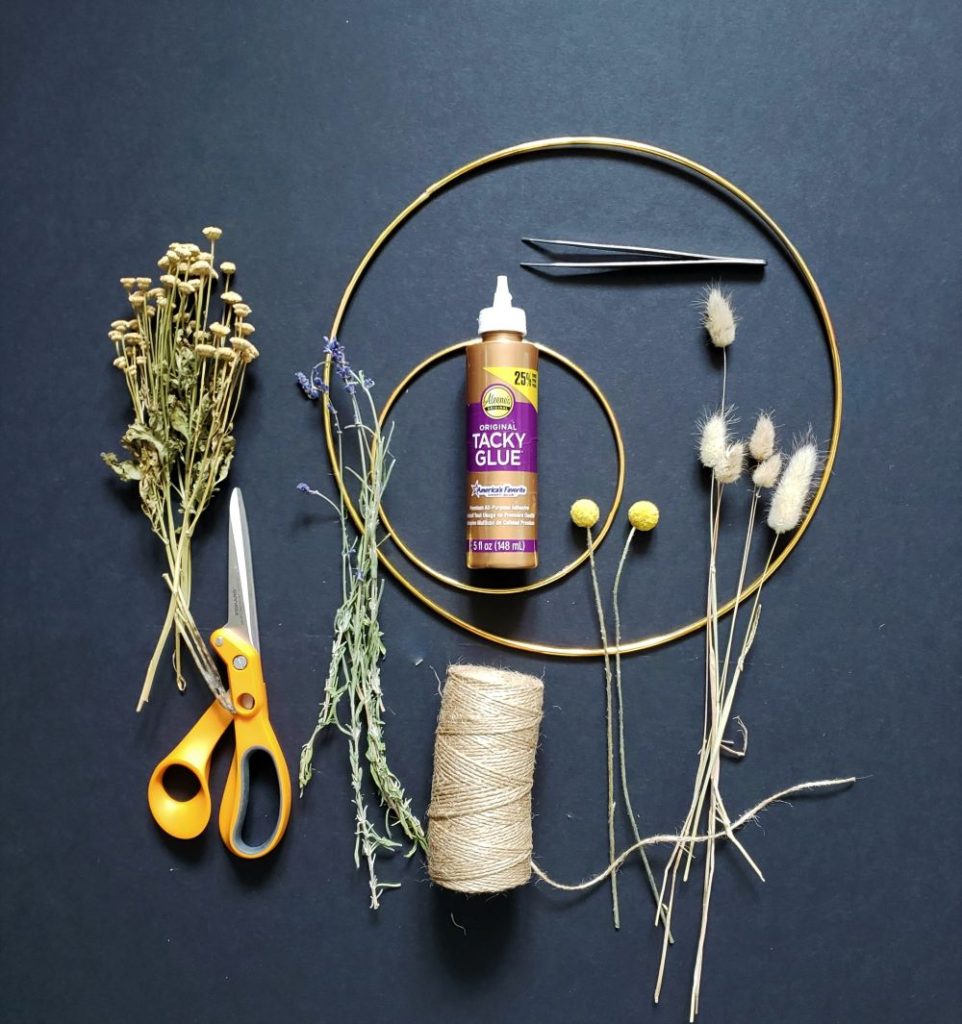
Wire wreath frame any size will do
Clear drying Craft glue ( tacky glue is my go to, but any brand will work)
Jute or twine
Dried Flowers
Scissors
Large tweezers
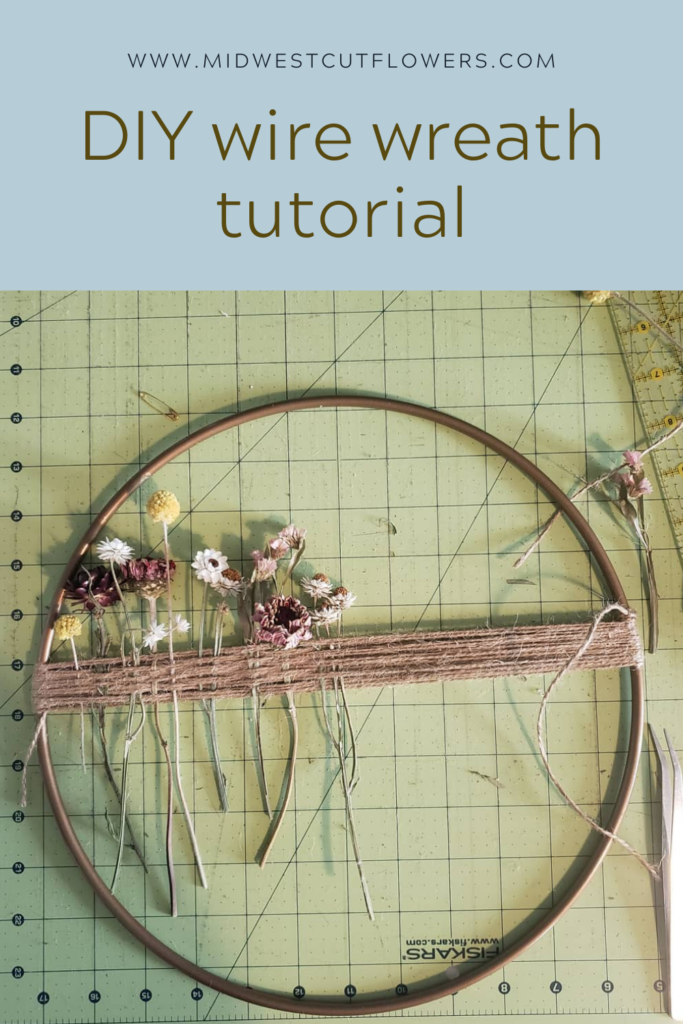
wreath tutorial
step 1
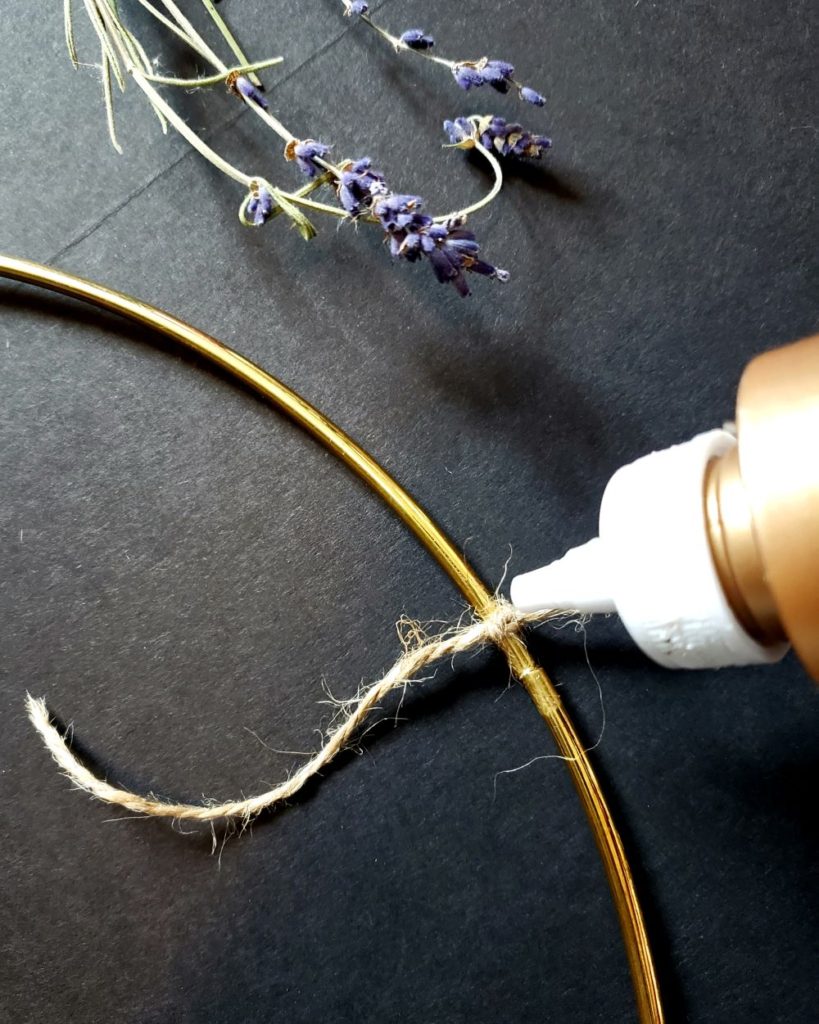
Find the end of your twine or just and tie it tightly on the frame. I like to tie it just a little above the seam. Once the twine is tied tight, add a drop of glue on the knot.
step 2
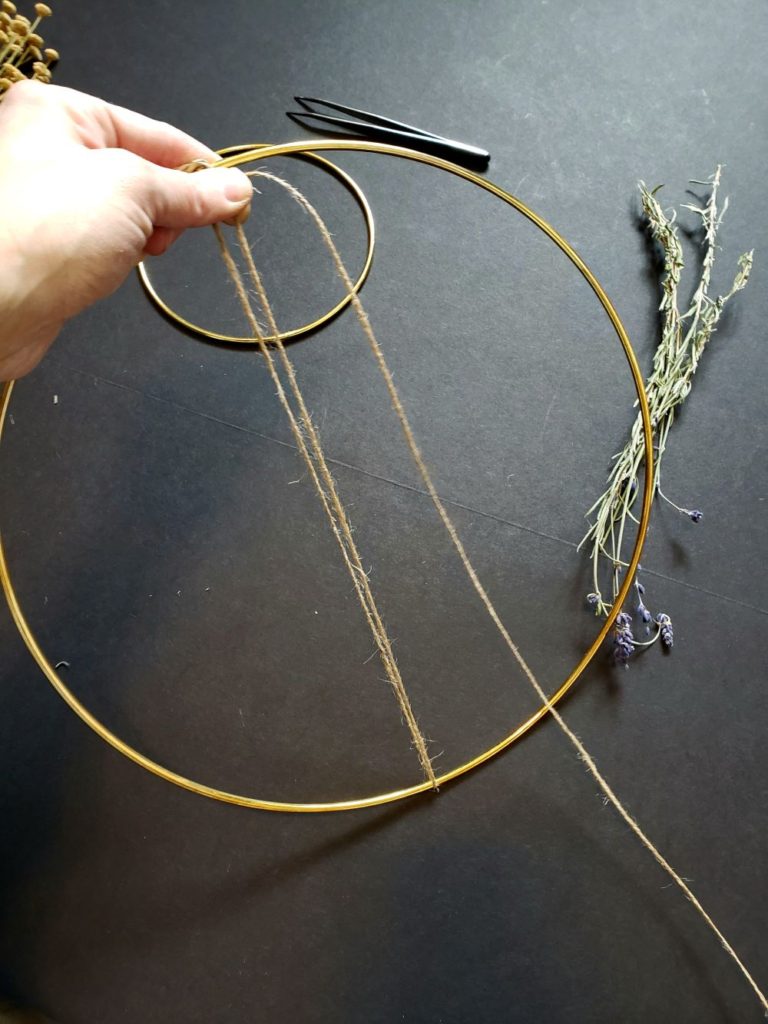
Pull the jute directly across the wreath frame and start wrapping it around. Pull firmly with each round, do this step slowly. The jute will slip, when this happens just calmly move the strings back to position.
step 3
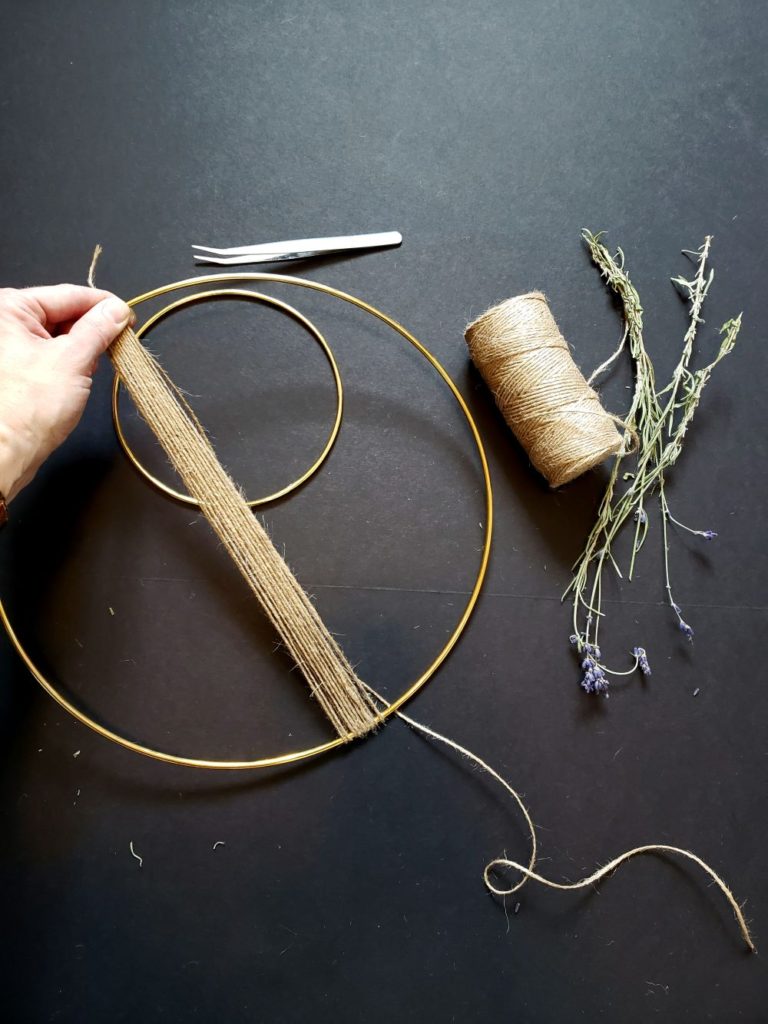
Wrap the jute for 10 rounds. When you are finished, cut the jute 12 inches from the frame. Hold the frame where you ended your rounds with one hand, with the other hand wrap the end of jute around the frame and tie in a secure knot. Pull tight. Apply a line of glue along the OUTSIDE of jute that is on the frame. Let dry.
step 4
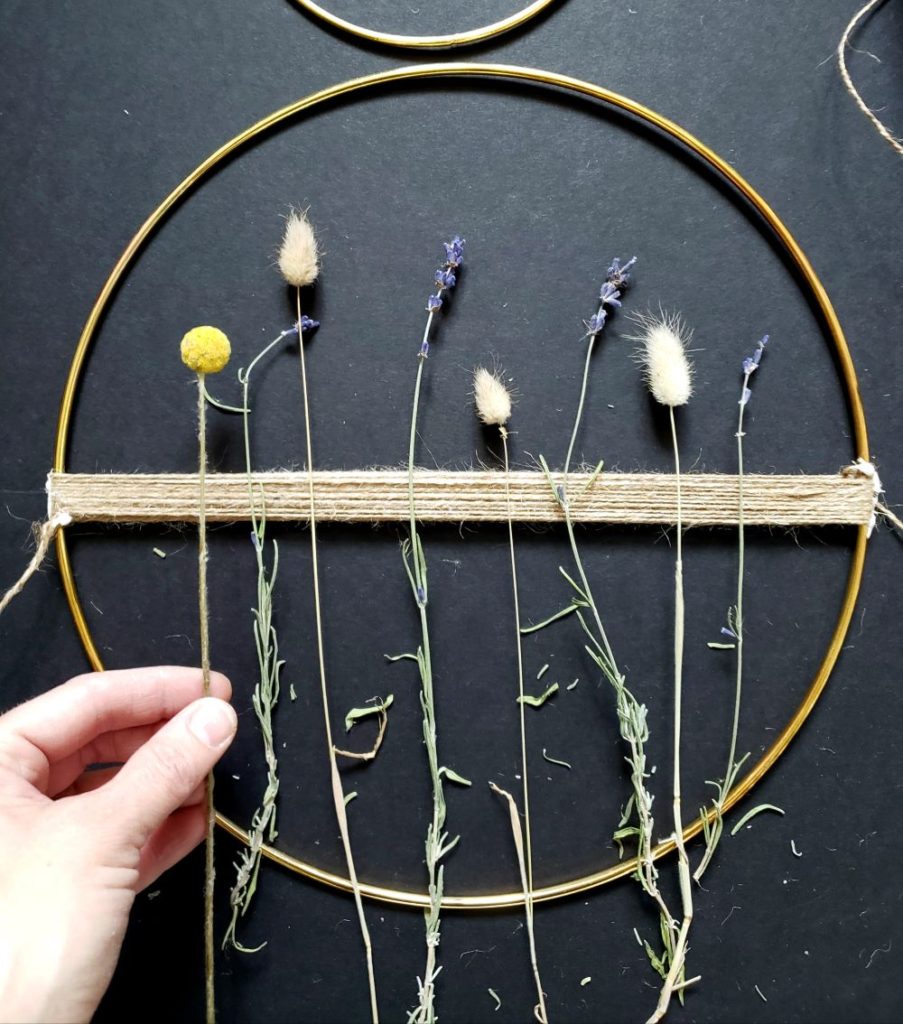
Grab your dried flowers. Lay them out to see how you want them in the frame.
step 5
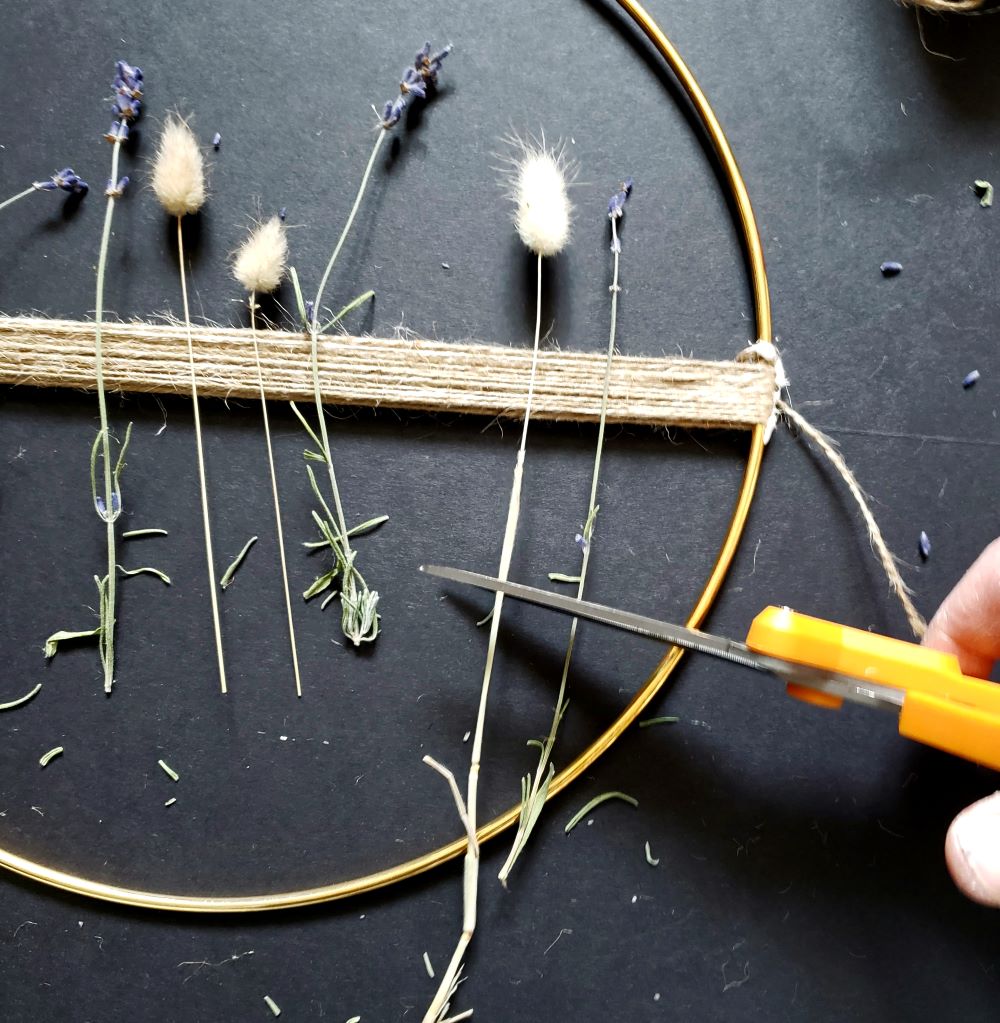
Cut the stems of the dried flowers with you scissors at your desired length. You can cut them all the same lengh OR cut them all at different lengths. This is where your imagination comes in. Do what is pleasing to your eye.
step 6
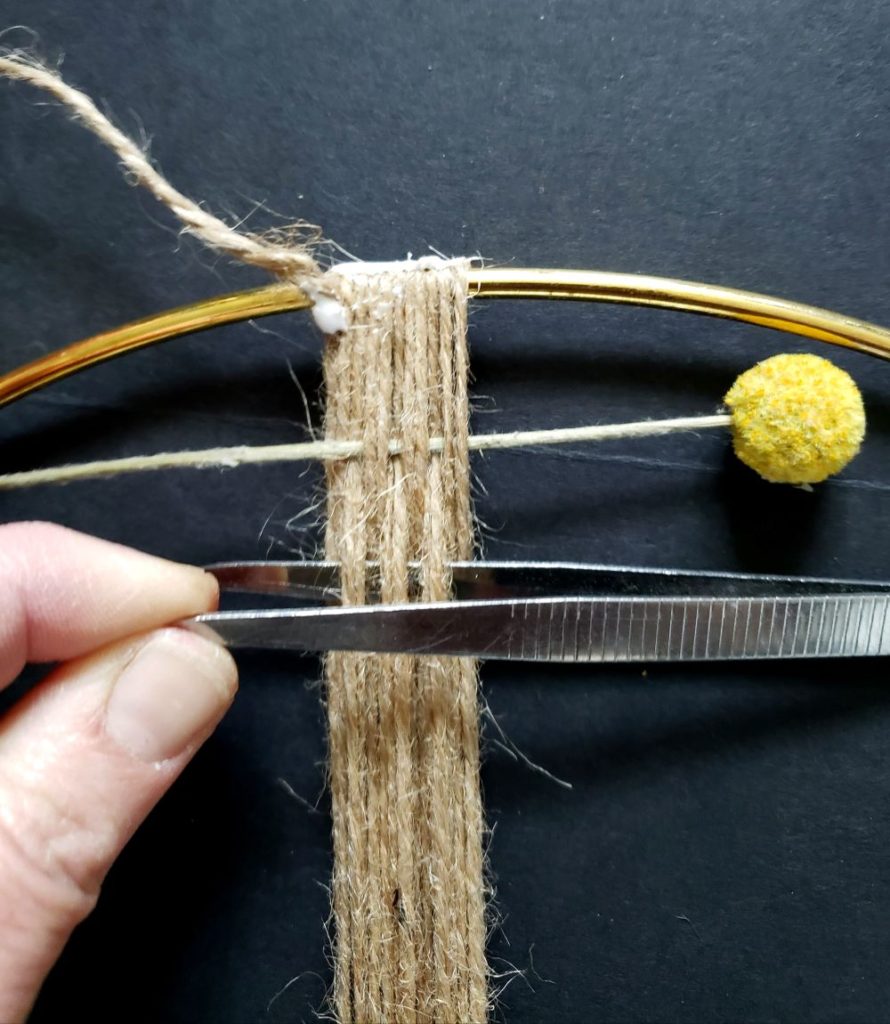
Using your tweezers, press down the top two strands of jute, slowly pick up the next two strands. Repeat until you are at the end. Twist your tweezers towards you so they lift up the jute. Insert your first dried flower. Lay down the tweezer and gently push the dried flower where you want it.
For the next flower, start by picking up the third and forth strands and repeat every other like you did above. Continue this until you have added as many flowers as you want.
step 7
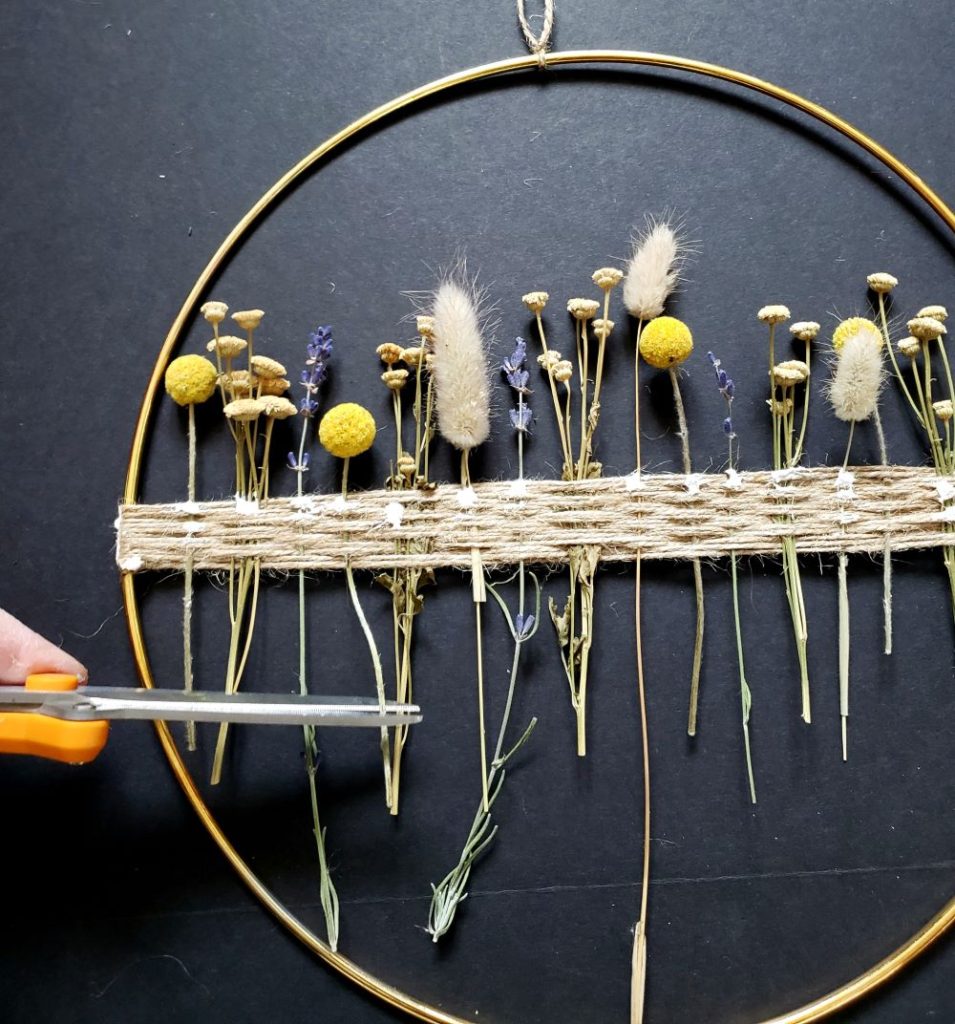
Trim the stems as desired.
step 8
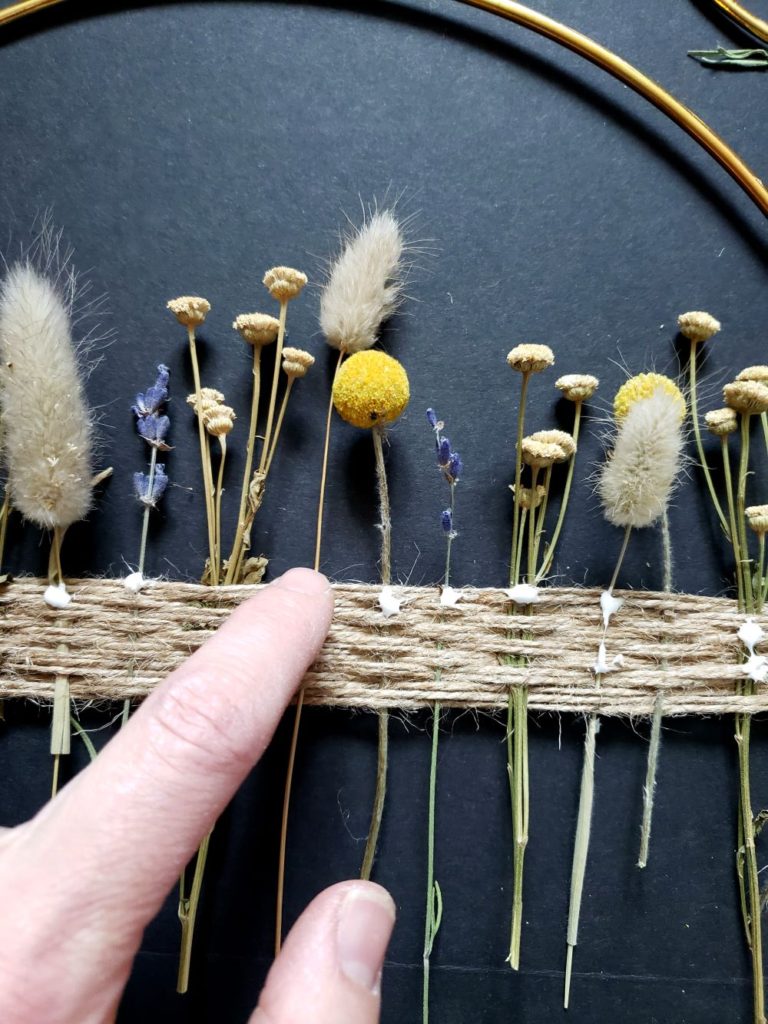
Using the craft glue, drop a dot of glue near the top of each flower stem. Using your finger spread the glue down to the bottom of the jute.
Cut a piece of jute approximately 18 inches in length. Tie the jute to the top of the wreath frame in a double knot. Pull the 2 strands together and tie a know neat the top creating a loop. You will use this to hang the wreath. Glue each knot.
Let the glue dry.
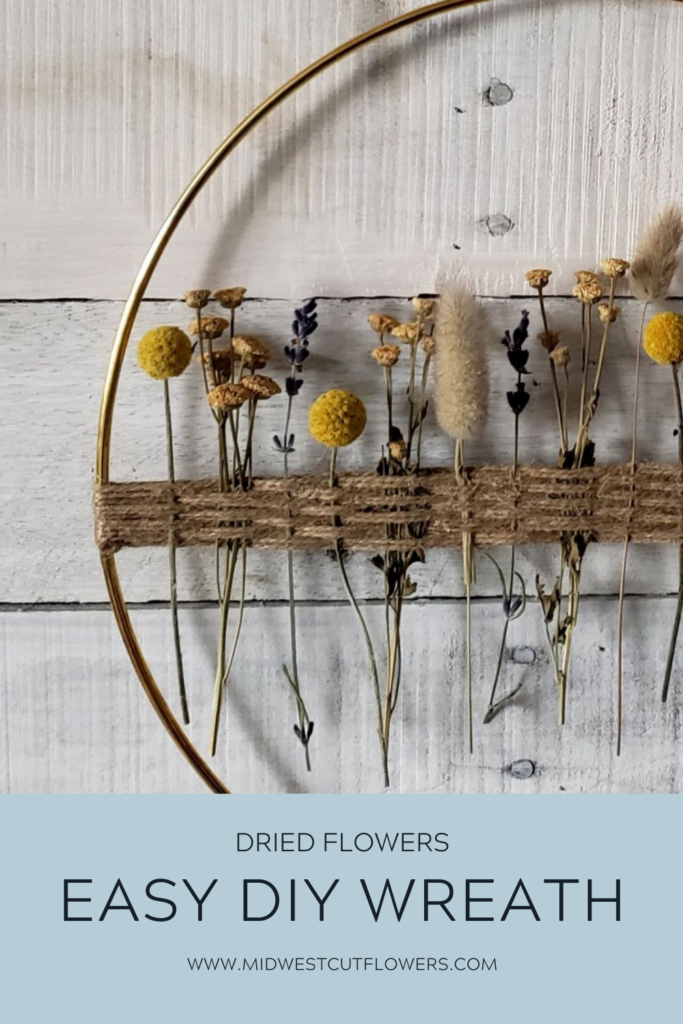
Hang in your preferred spot and enjoy.
Here are a few more wreath tutorials that you may like.
Foraged wreath from your backyard.
Wreath making is a great way to let your creative energy flow. Please share with me what you have created.
parting wisdom
A little parting wisdom for you. The best dried flowers for you to use would be flowers that you have dried yourself. My next suggestion would be to look on Etsy for your dried flowers. If you do not find anything there here is a good example of a dried flower bouquet that can be taken apart and used.
Until next time,
Rhonda
Thank you Cheryl. I agree.
I’d think if flowers are flopping either your flowers aren’t dried enough or your twine isn’t taught
Debbie, without seeing your wreath I am not sure why the flowers are flopping over. Feel free and email me a picture.
I loved the wreath as soon as I saw it, so I decided to make one . It came out great except the flowers keep flopping over. I can’t get them to stand up! What’s the secret? Lol !!
I love this wreath! So simple and perfectly my style😍
Thank you!
I think Anita is right. I like the wreath, so adorable. Will wait to hear on workshop. 🙂
Anita, glad you like it! I will think about the workshop idea!!
How cute! I think you should start doing workshops! 😍